
7 tips to styling The best flatlay

If you are an Instagramer or content creator, flat lays are the perfect type of photos for you. Especially if you’re interests lie in fashion, cosmetics or food. You can include all three in one photo, and by doing so, tell a really powerful story. Overall, Instagram is a very friendly community, so if your photos are good, people will like them and will follow you. Always tag brands, products or people and use the right #hashtag at the end of your post. Now, where to start?
1. Natural light wins!
Images are best taken in natural light. Shooting flat lays in the dark isn’t advisable, as the lightbulbs in your home produce a very strong orange hue. Not very flattering. Instead, consider the use of flashes and LED continuous lighting. Avoid using high-powered lamps to brighten an image, you can adjust the saturation later. A good approach is to go outside in the morning, before the sun has come out in full force. Another strategy worth exploring is to stand facing a window, preferably to one side. This will give the subject of your image more dimension. When facing away from the window, you’ll create an unwanted shadow, making the image seem rather flat. Cloudy, overcast days present the best weather conditions and offer more neutral, balanced light.

2. Choose your colour theme
Different colours will draw your attention to different parts of an image. It can also help to shape the mood of the image. For example, if you use one single colour palette, i.e. blue tones, the image will feel calm. However, go for reds and you’ll get a totally different look and feel. It helps to choose 2-3 unifying colours. This helps provide your image with a consistent theme. Speaking of colours, choose a neutral background, like a basic white, a wood floor, stone or table.

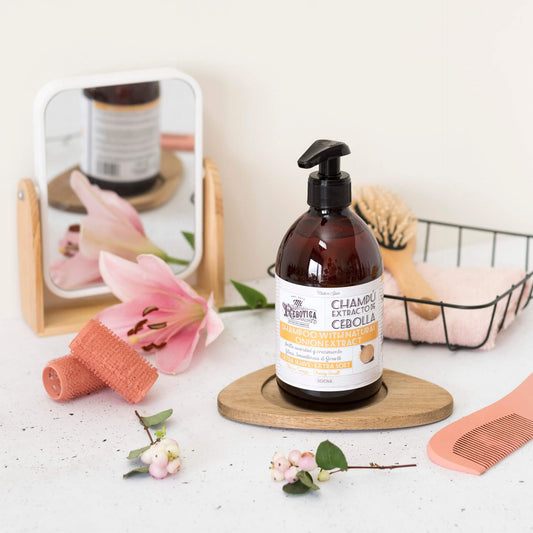
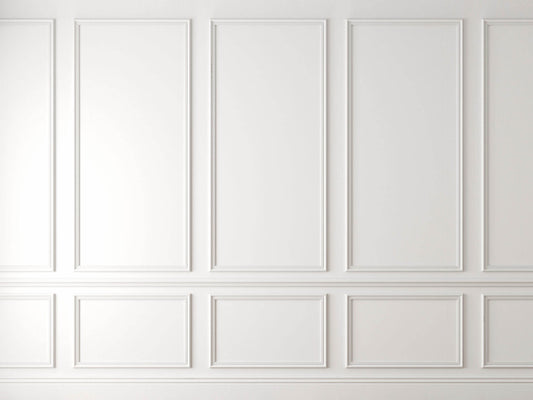
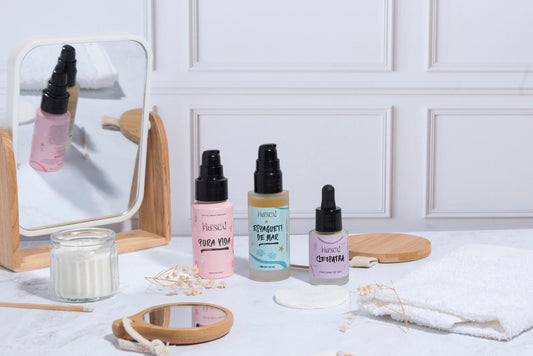
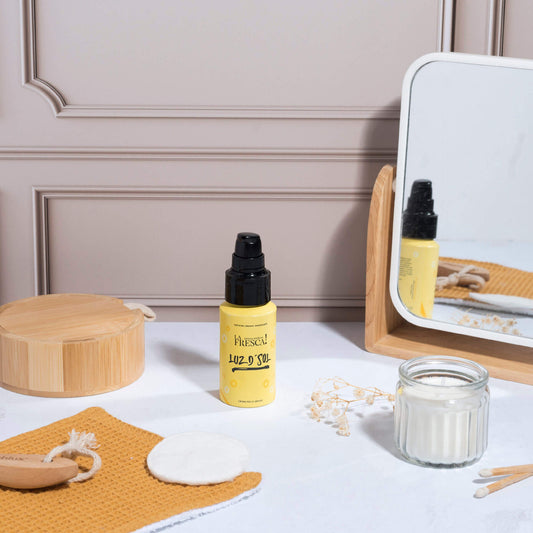
3. Choose the right background
Option 1: Light and subtle background – Best for Fashion and Beauty photos
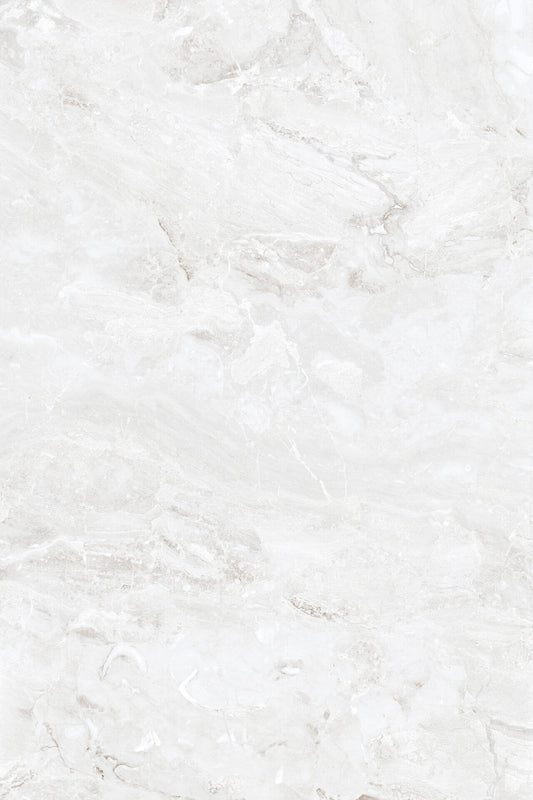
Try to reduce the background noise. In other words, you should have a nice neutral background, ideally even, where you can lay everything and the eye will not be wondering anywhere other than on the products. You can use a variety of surfaces with a white background, including a table, your bed, a desk or you can use premade backdrops as are these.
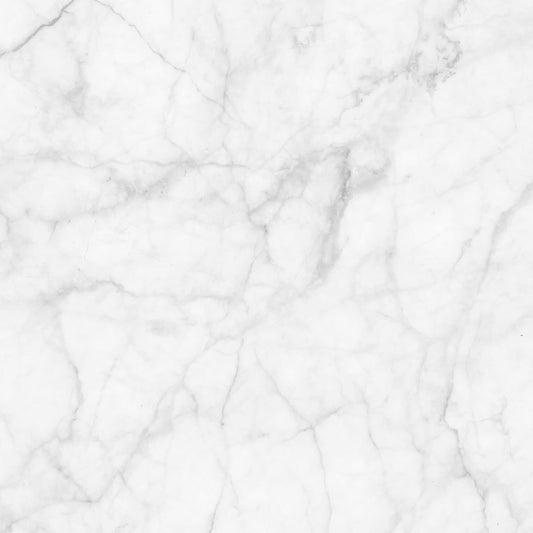
One of the most popular backgrounds used is white Carrara marble.

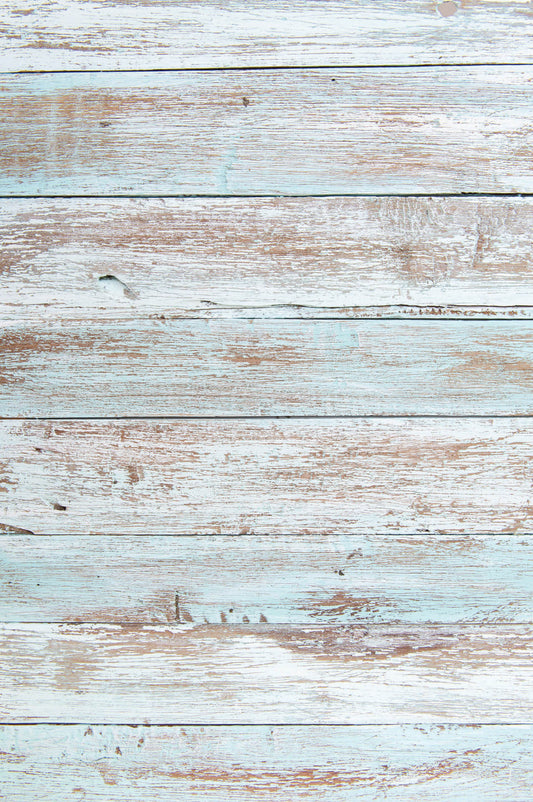
Option 2: Dark and coloured background – Best for Food photos
Statistically, light and subtle backgrounds do better in flat lays than a heavy coloured or black background. However, a dark coloured background seems to have the desired effect (more likes) when used for food photos or masculine flat lays.
When you style food, use less food than you normally would. Allow it to spill over naturally and try using different angles. Most used backgrounds for food are a large slate graphite surface or dark aged wooden table. Real surfaces can be bit pricey (up to 500 EUR) and really hard to store, as they are usually big in size. But if you don’t have the money or place to store real surfaces there is an alternative. Try a PVC version of different dark backdrops. They create an amazing illusion of the real surface backdrop. The results will amaze you.
One of dark bestselling backdrops is Tokyo ceramic.

4. Pick your composition
Objects can be laid out in straight lines or in a more curves composition. Both approaches work, yet give off completely different vibes. While straight lines feel masculine and harsh, curves are more feminine and fluid. You can imagine an “S” shape on the ground or even draw one yourself and place items along its curve.

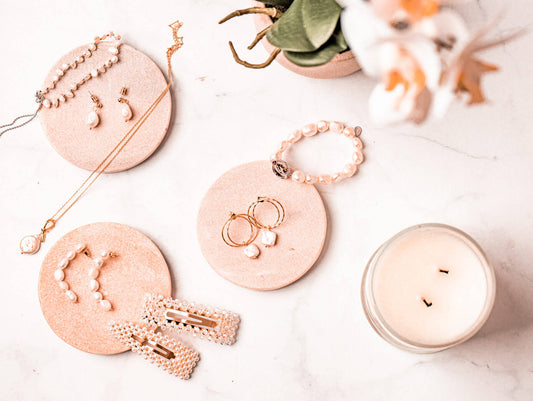
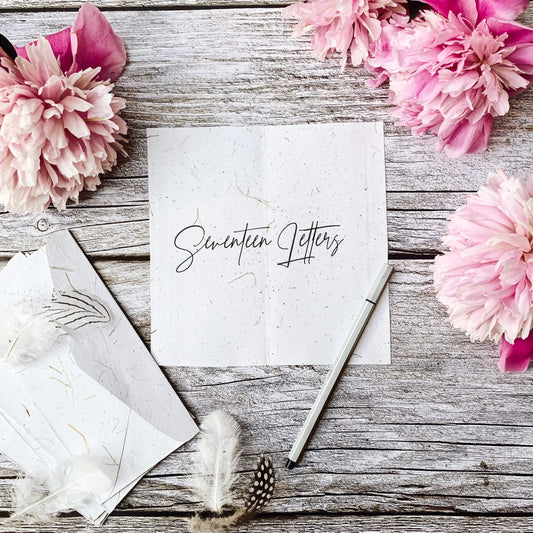
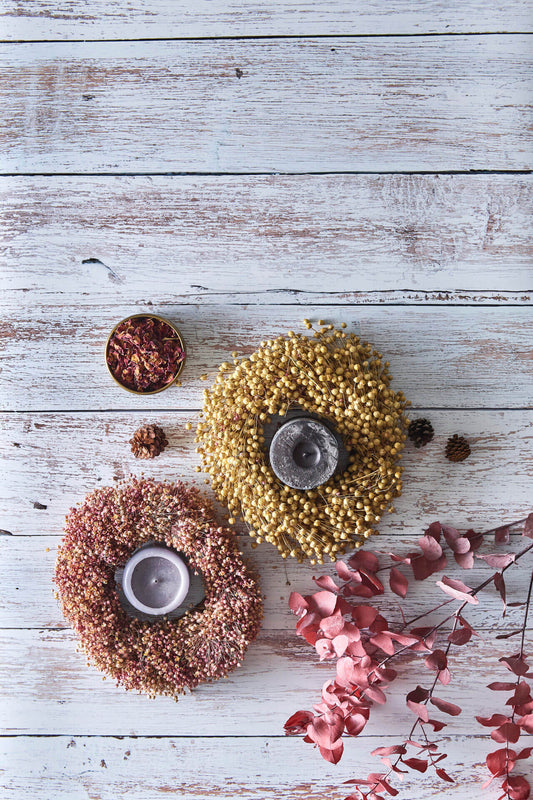
5. Add something “living”
Flat lays consisting only of objects can be boring – lifeless. So every Flat lay we create needs something living in the form of a plant, your hands, a picture, fruit, something that is physically alive, organic, or something that tells a story – pictures, diaries, notebooks.
Hands – hands that are interacting with the objects. In a picture, make a photo that is relatable – imagine them holding that cup of coffee, or reading that book.
Plants and flowers – what you have at home – green houseplants, small succulents, they really make a picture more appealing to the eyes.

Fruit – really great for adding life and a splash of colour to a picture. Try adding orange, and on the second shot only orange peel and see how much difference it makes.
Books – coffee table books. Open them on different pages and create different looks.
Magazines – fashion, design, architecture, whatever you aim for.
Greeting cards – check Etsy or pick cards from a different time period (think pinup) that will add to the vibe of your flat lay.
Polaroid images – also add life and story to flat lays

Pens – great for filling up space and adding a touch of life (you know somebody was or will be using them)
Stationary – planners, to-do lists, diaries, …
Hair clips – similar to pens, add a feminine vibe.
Blankets, scarves – they soften and warm up the image and create a touch of romance.
Bottles – little and big glass bottles create crispness on an image and you can also play with the light that shines through the glass.
Ceramics – pottery for tea or coffee, cookies, a ceramic plate for cosmetics…
6. Experiment with empty space
Shooting flat lays often involves a large object or product that you want to promote. Your aim should be to use this primary object to unite other parts of your image. Or you can do the exact opposite by taking advantage of a blank space to unite your image.
![]()
7. No camera, no problem
Flat lay pictures don’t demand a professional camera. Most cell phones come equipped with cameras that do the trick just as well. When using your cell phone camera, make sure to take the following three points into consideration:
1. Only take pictures with the camera app. Don’t be tempted to use Instagram’s camera – it just isn’t as good.
2. Take pictures with different cutting options – the pictures that look best on Instagram are square and vertical images; try setting the camera to take pictures in 1:1 dimensions (square) to avoid cutting the picture in the app in case you choose a square photo.
3. There are never too many photos! Take as many as you want – the more you have to choose from, the better.

Editor’s Picks
White panels
- From €34,00
- From €34,00
- Unit price
- per

Antique panels
- From €34,00
- From €34,00
- Unit price
- per
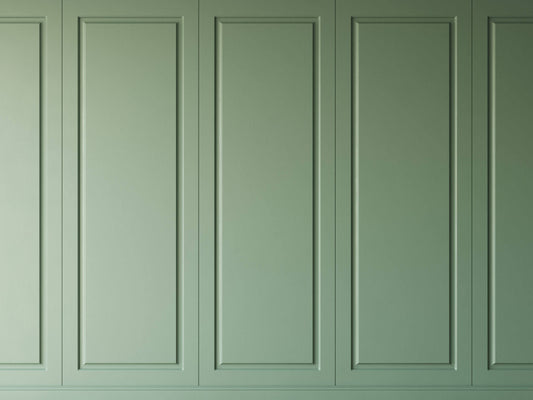
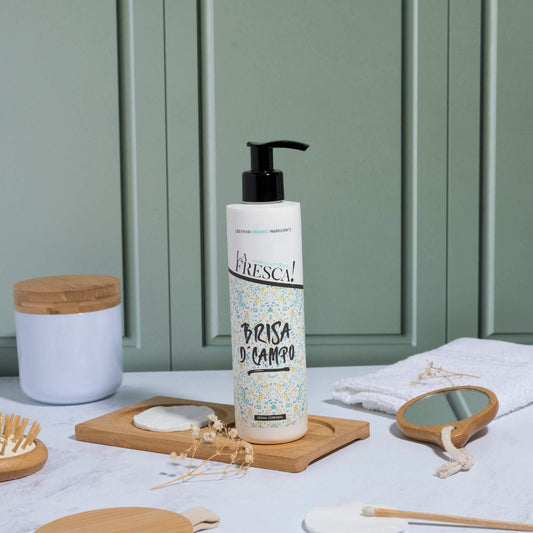
Sage panels
- From €34,00
- From €34,00
- Unit price
- per
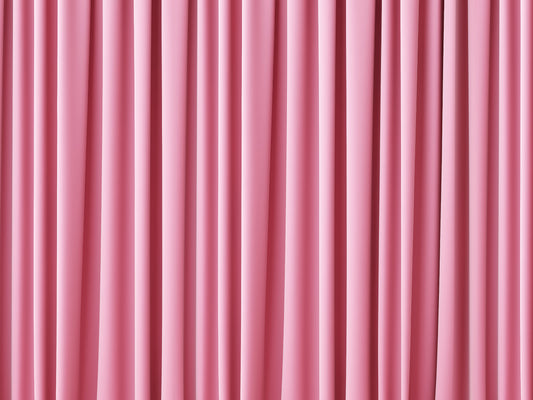
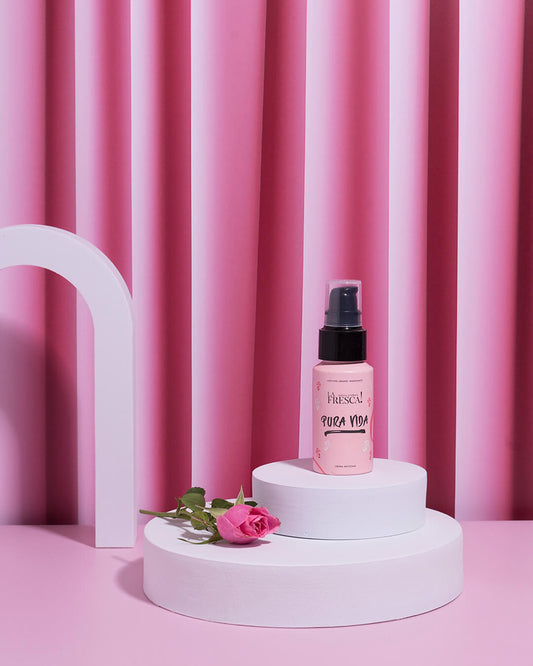
Pink drape
- From €34,00
- From €34,00
- Unit price
- per