

How to Create Photography Backdrops for Pro Visuals
Finding a backdrop that looks stunning in every frame while standing up to your busy schedule can be a real challenge. For professional photographers and e-commerce sellers across North America, the choice of material impacts not just the look of your images but also their long-term quality. This guide walks you through selecting and customizing a durable, high-quality backdrop that delivers reliable results and supports your unique style.
Table of Contents
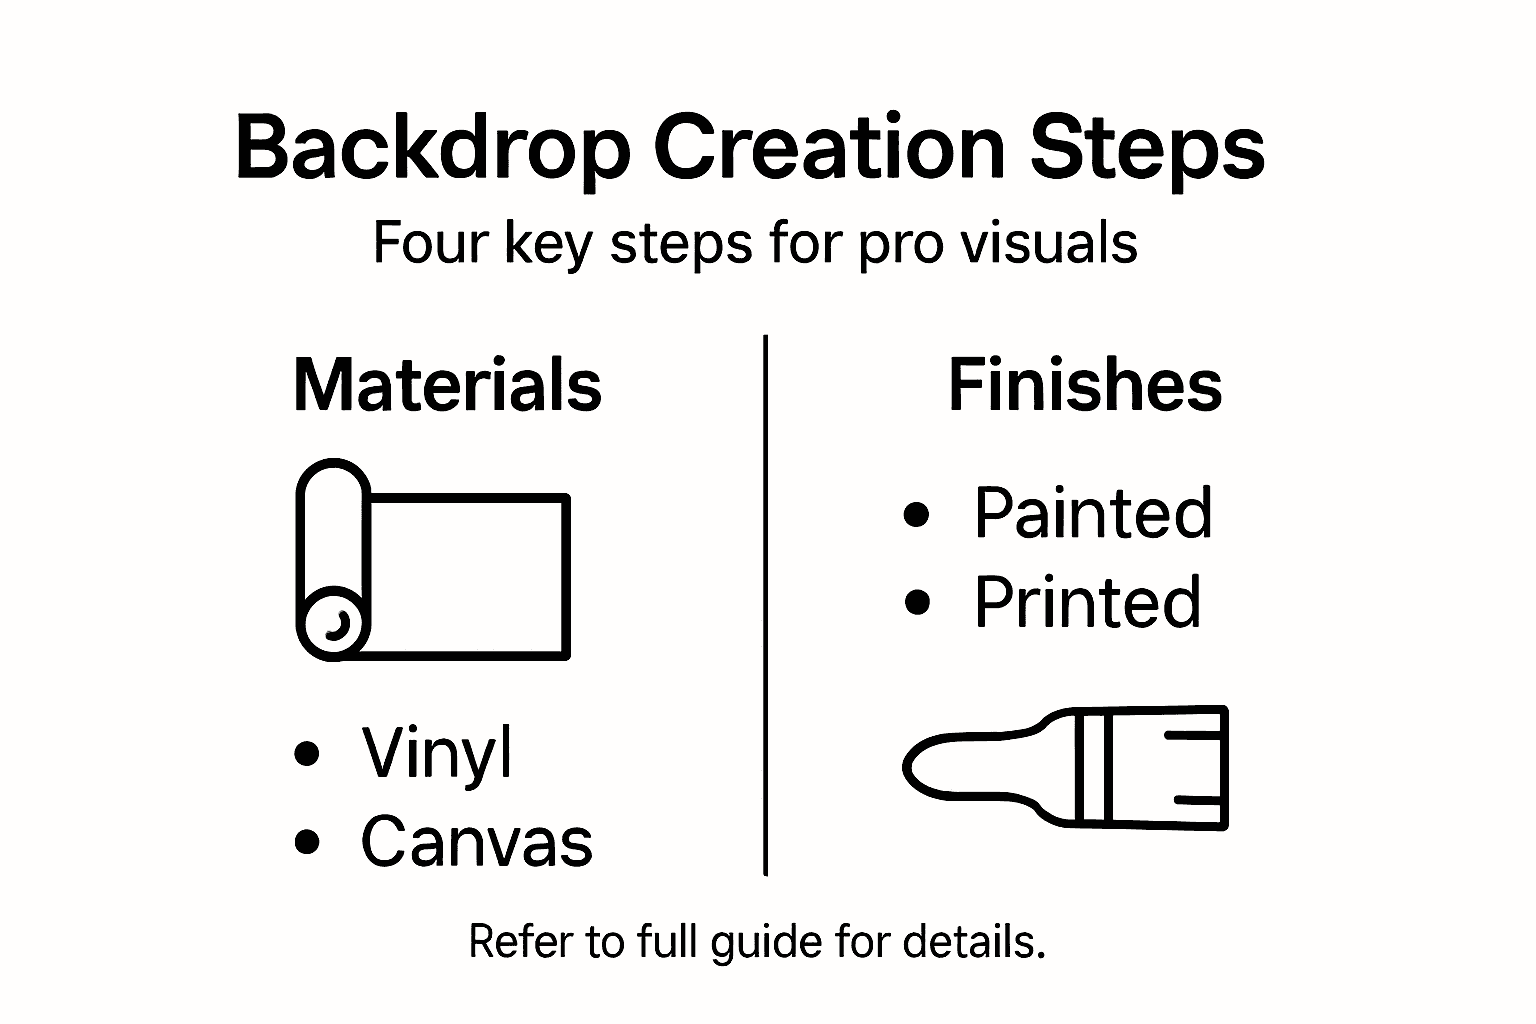
- Step 1: Select The Right Materials For Your Backdrop
- Step 2: Design And Customize Your Backdrop Surface
- Step 3: Apply Vinyl Prints Or Decorative Finishes
- Step 4: Inspect And Test Your Backdrop For Quality
Quick Summary
| Key Takeaway | Explanation |
|---|---|
| 1. Choose the right backdrop material | Selecting material impacts durability, light interaction, and suitability for your projects. Consider factors like weight and stain resistance. |
| 2. Design complements your subject | The backdrop design should enhance your product and reflect your brand, focusing on color and texture to tell the right story. |
| 3. Properly apply prints and finishes | Accurate application of vinyl prints or decorative finishes ensures durability and maintains a professional appearance. |
| 4. Inspect your backdrop thoroughly | Conduct a visual and functional inspection to avoid issues during shoots, ensuring consistent quality and performance under your lighting conditions. |
| 5. Test with real products and lighting | Take test shots to see how your backdrop interacts with products, allowing you to identify potential issues before your first shoot. |
Step 1: Select the Right Materials for Your Backdrop
Choosing the right material is the foundation of professional product photography. Your backdrop material affects durability, appearance, lighting behavior, and how well it handles the wear and tear of daily shoots. The material you pick shapes everything that comes next.
Different materials serve different purposes. Canvas offers heavy-duty durability for long-term studio use, while vinyl provides a smooth, wrinkle-resistant surface that minimizes glare and works beautifully for close-up product shots. Muslin is lightweight and washable, making it ideal for photographers who move between locations. Seamless paper gives you unlimited color options but sacrifices durability.
Consider these factors when evaluating materials:
- Durability and lifespan: How long will this backdrop withstand repeated use, cleaning, and storage?
- Weight and portability: Do you need to transport your setup frequently between locations?
- Light interaction: Does the material absorb light evenly, or does it create unwanted reflections?
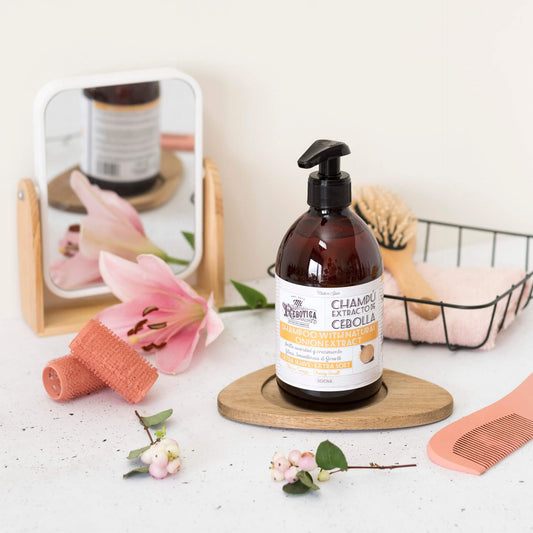
- Stain and spill resistance: For food and product photography, material longevity and environmental resistance matter significantly when handling oils, liquids, or pigments.
- Maintenance requirements: How much time will you spend cleaning, pressing, or caring for the backdrop?
- Budget: Premium materials cost more upfront but last longer and perform better.
The best backdrop material matches your shooting style, budget, and how you plan to use it over time.
For e-commerce sellers and product photographers working with delicate items or liquids, vinyl backdrops offer practical advantages. They resist stains, wipe clean easily, and maintain their appearance shot after shot. If you’re building a professional studio and shooting consistently, canvas provides excellent durability and light absorption. For variety and color options without breaking your budget, seamless paper works well for lighter-duty projects.
Here’s a comparison of common backdrop materials for product photography:
| Material | Best Uses | Pros | Limitations |
|---|---|---|---|
| Canvas | Permanent studios, frequent use | Highly durable, absorbs light well | Heavy, less portable |
| Vinyl | Food, liquids, e-commerce | Stain-resistant, easy to clean | Can reflect light |
| Muslin | On-location shoots | Lightweight, machine washable | Prone to wrinkles |
| Seamless Paper | Quick projects, colorful shots | Unlimited colors, affordable | Tears easily |
Think about your specific workflow. Are you photographing jewelry that needs minimal texture, or food products where oils might splash? Are you shooting in a permanent studio space or a shared location? Do you need to pack everything into a car at the end of the day? Your answers determine whether you need something lightweight and packable or something heavy-duty and permanent.
Pro tip: Test your backdrop material under your actual lighting setup before committing to a full purchase—what looks great in photos online might behave differently with your specific equipment and shooting style.
Step 2: Design and Customize Your Backdrop Surface
Now that you’ve selected your material, it’s time to design the actual surface. This is where your backdrop transforms from a blank canvas into a visual tool that enhances your photography. The design you choose should complement your subject and tell the story you want to tell.
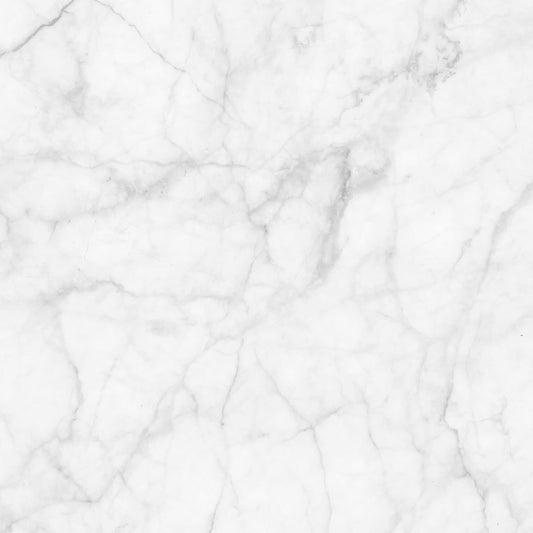
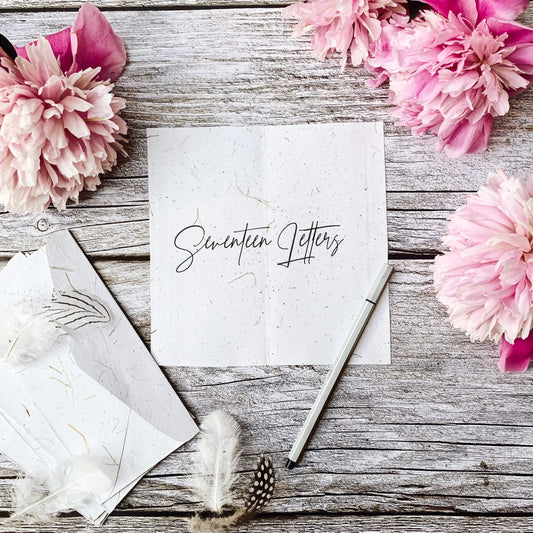
Start by deciding what aesthetic fits your work. Do you want a solid color that keeps focus on your product, or something with texture and pattern? Essential photography backdrop ideas range from minimalist and clean to textured and atmospheric. Many product photographers favor subtle textures like marble, wood grain, or concrete that add visual interest without competing for attention.
If you’re creating a custom design, applying design principles like color balance and visual rhythm matters significantly. Consider these elements:
- Color selection: Choose colors that complement or contrast with your products strategically.
- Pattern and texture: Decide between solid finishes, subtle patterns, or bold textures based on your brand aesthetic.
- Image quality: If using printed designs, ensure your images are high resolution to maintain clarity in close-up shots.
- Consistency: Your backdrop should work across multiple shots and projects without looking dated or out of place.
A well-designed backdrop becomes invisible to your audience while making your subject shine.
For digital customization, tools like Photoshop allow you to prepare and edit images before printing. You can adjust colors, add textures, or combine multiple elements to create exactly what you envision. Once your design is finalized, protective coatings extend durability and keep the surface looking fresh through repeated use and cleaning.
Use this quick reference to select a backdrop design approach:
| Design Style | Visual Impact | Typical Applications |
|---|---|---|
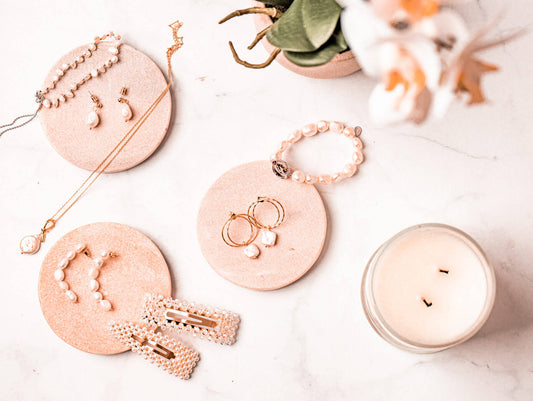
| Solid Color | Minimal, modern look | Jewelry, tech products |
| Subtle Texture | Adds depth, subtle focus | Food, lifestyle shots |
| Bold Pattern | Dramatic, eye-catching | Fashion, promotional ads |
| Custom Printed Image | Brand-specific, unique | Bespoke product campaigns |
Remember that your backdrop serves a purpose beyond aesthetics. It should enhance your product, match your brand identity, and hold up to the demands of professional photography. Whether you choose a purchased design or create something custom, the investment in thoughtful design pays dividends in every shot.
Pro tip: Photograph test shots of your backdrop under your actual lighting setup before finalizing the design—colors and textures often look different in photos than they do in person, and you want to catch any surprises before printing or purchasing.
Step 3: Apply Vinyl Prints or Decorative Finishes
This step transforms your backdrop from a blank surface into a finished product ready for photography. Whether you’re applying vinyl prints or adding decorative finishes, the execution determines how professional and durable your backdrop becomes. Precision matters here.
If you’re working with vinyl prints, start by preparing your backing surface thoroughly. Clean the material completely to remove dust, debris, and any contaminants that could prevent proper adhesion. High-resolution images ensure clarity in your prints, especially for close-up product shots where every detail matters.
When applying the vinyl itself, follow these steps:
- Position carefully: Align your vinyl print before any adhesive makes contact with the backing surface.
- Smooth out bubbles: Work from the center outward, using a squeegee or soft tool to eliminate air pockets and wrinkles.
- Use appropriate adhesives: Select adhesives designed for your specific vinyl and backing material to maintain print integrity.
- Apply protective primers: These protect the print from damage and extend the backdrop’s lifespan through repeated use and cleaning.
The difference between a backdrop that lasts one season and one that lasts five years often comes down to proper application and protection.
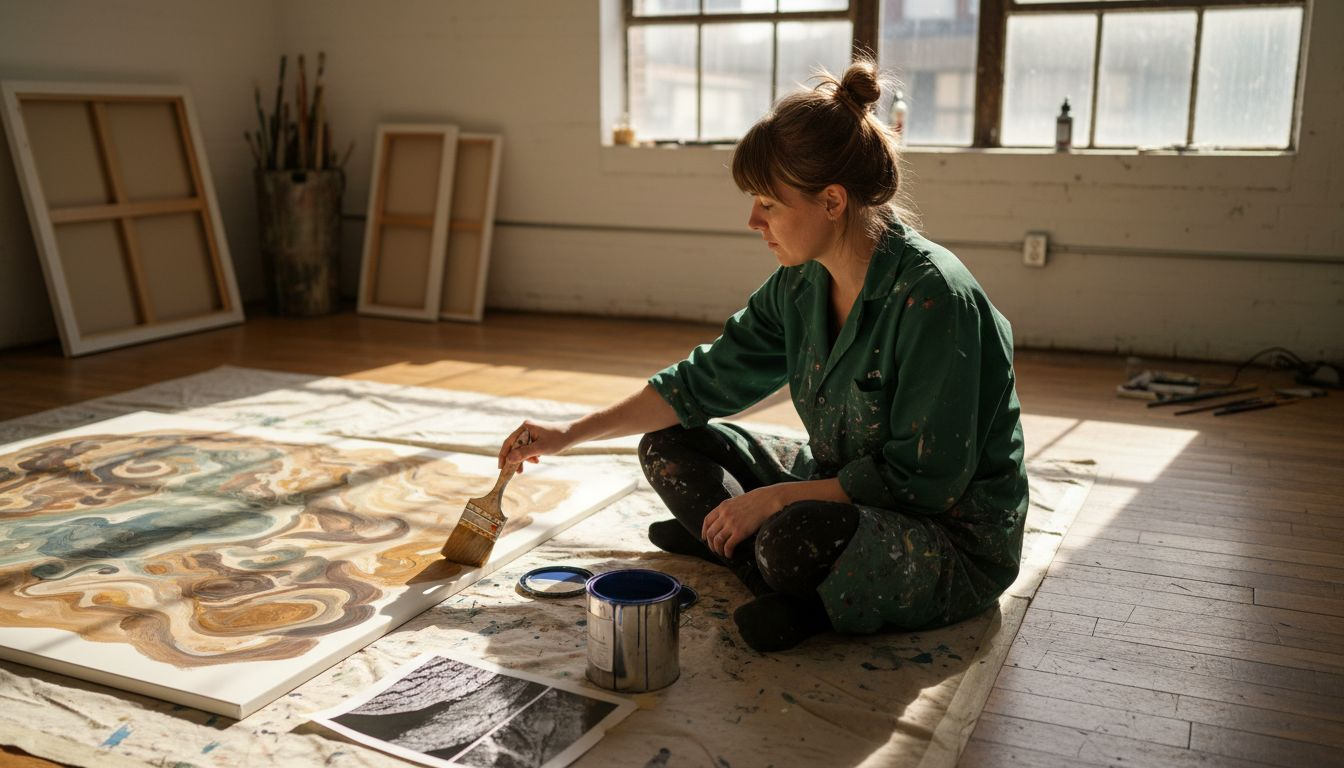
For decorative finishes beyond vinyl, you have creative options. Paint layers add depth and visual interest to your backdrop. Textures created through brushwork or material application contribute to the immersive quality of your final images. If you’re painting, understand perspective and color theory to achieve realistic or stylized effects depending on your photography style.
The key is matching the finish to your backup material. Some finishes work better on canvas, others on vinyl. Layering decorative elements thoughtfully creates visual complexity without overwhelming your subject. Your goal is a backdrop that enhances your products, not competes with them.
Pro tip: Apply finishes in a dust-free environment and allow ample drying time before your first shoot—rushing this step leads to fingerprints, smudges, and tackiness that show up in close-up photography.
Step 4: Inspect and Test Your Backdrop for Quality
Before you start shooting, thoroughly inspect and test your backdrop. This step catches issues early and ensures your backdrop performs as expected when it matters most. A few minutes of testing now saves you from discovering problems mid-shoot.
Start with a visual inspection of the entire surface. Look for dust, scratches, wrinkles, or any imperfections that could show up in your photos. Run your hands across the backdrop to check for rough spots or uneven finishes. Check all edges and corners where problems often hide.
Next, test under your actual shooting conditions:
- Lighting assessment: Photograph test shots under your standard lighting setup to confirm the backdrop doesn’t introduce unwanted glare or reflections.
- Color accuracy: Verify that colors appear as intended and don’t shift under different lighting angles.
- Detail clarity: Ensure fine details remain sharp and don’t blur, especially for close-up product shots.
- Surface consistency: Check that texture or patterns look uniform across the entire backdrop without visible seams or inconsistencies.
A backdrop that looks perfect in ambient light might reveal hidden issues once your photography lights are on.
Beyond visual checks, assess material condition and surface integrity to ensure the backdrop will hold up through extended use. Look for any areas where the print might be peeling, the material warping, or protective coatings failing. If you’re using vinyl, test that it adheres properly and shows no bubbling or separation.
Take several test photos with your actual products or subjects in different positions. This reveals how your backdrop interacts with your styling and how light behaves. You might discover that certain areas work better for specific shots, or that subtle texture creates unexpected effects you can leverage creatively.
Document any issues you find and address them before your first professional shoot. A backdrop in perfect condition from the beginning sets you up for consistent, high-quality results across all your photography.
Pro tip: Keep your backdrop testing notes with reference photos so you remember exactly how it performs under different conditions—this knowledge becomes invaluable when troubleshooting lighting or composition issues later.
Elevate Your Product Photography with Ready-Made Vinyl Backdrops
Creating your own photography backdrops can be time-consuming and requires careful attention to material choice, design, and finish to achieve professional results. If you want to avoid the challenges of sourcing durable, stain-resistant materials and applying high-resolution designs that hold up under intense lighting and close-up shots vinyl backdrops from Instant Backdrops provide a trusted, convenient solution. Our collection is crafted for photographers seeking reliable backgrounds that enhance product presentation while standing up to spills, oils, and repeated use.
Discover a range of ultra-realistic, vibrant options in our All product photography backdrops – Instant Backdrops collection that includes versatile styles for food, jewelry, fashion, and lifestyle shoots. Whether you prefer natural textures from the Nature backdrop collection for product & food photography – Instant Backdrops or the refined aesthetics found in the Aristocrat backdrop collection for product & food photography – Instant Backdrops Instant Backdrops offers a solution designed to save you time and deliver consistent results.
Transform your visual storytelling today by choosing durable, spill-proof vinyl backdrops that simplify your workflow and elevate your product imagery. Visit Instant Backdrops to explore our entire selection and find the perfect background to meet your professional needs now.
Frequently Asked Questions
What materials should I choose for my photography backdrop?
Choosing the right materials is crucial for creating professional-looking photography backdrops. Consider options like Canvas for durability, Vinyl for stain resistance, or Muslin for lightweight portability. Evaluate your specific needs, such as the type of products you’re photographing and how often you’ll transport your backdrop.
How do I design and customize the surface of my backdrop?
To design and customize your backdrop, start by selecting an aesthetic that complements your products. Choose between solid colors, subtle textures, or bold patterns—ensuring consistency across your shoots. Create a visual balance by applying design principles like color harmony and pattern integration.
What are the steps to apply vinyl prints or decorative finishes?
First, clean your backdrop surface thoroughly to ensure proper adhesion. Next, carefully position the vinyl before sticking it down, smoothing out any bubbles as you go. Finally, apply protective primers to enhance durability and ease of cleaning, which will prolong the life of your backdrop.
How do I inspect and test my backdrop for quality before using it?
Conduct a thorough visual inspection, looking for dust, scratches, or wrinkles that might affect your shots. Then, test the backdrop under your standard lighting setup to check for glare and color accuracy. Document any areas that need attention and resolve them before your first professional shoot to ensure optimal performance.
How can I ensure my backdrop works well for different types of products?
Assess your backdrop’s design and texture under various lighting conditions using test shots of your products. Examine detail clarity and how the surface interacts with your items to avoid competition for attention. Adjust your backdrop based on these observations to enhance its effectiveness for diverse product types.