

How to photograph food with props for better storytelling
TL;DR:
- Using well-chosen props and backgrounds creates a compelling scene that tells a story and engages viewers. Proper layering, intentional placement, and thoughtful lighting elevate food images from flat to dynamic and professional. Strategic prop selection and background matching enhance visual impact, making each shot feel intentional and emotionally resonant.
You’ve prepared a beautiful dish, set up your camera, and taken the shot. But when you look at the image, something feels off. The food looks flat. The scene feels empty. There’s no mood, no story, no reason for anyone to stop scrolling. This is one of the most common frustrations in food photography, and the solution isn’t a better recipe or a more expensive camera. It’s knowing how to use props and backdrops to build a scene that tells a story. This guide walks you through every step, from picking the right tools to nailing your final shot.
Table of Contents
- Essential tools and props for captivating food photos
- Designing your scene: Composition and layering with props
- Lighting and angles: Making props work for your food
- Troubleshooting and common mistakes when using props
- Our take: Why prop-driven food photography is more than aesthetics
- Elevate your food photography with backdrops that make props shine
- Frequently asked questions
Key Takeaways
| Point | Details |
|---|---|
| Choose neutral props | Opt for matte, neutral dishware and fabrics to avoid distracting glare and direct focus to the food. |
| Build scenes in layers | Layer backgrounds, linens, plates, and garnishes for depth and visual interest. |
| Use test arrangements | Set up with stand-in food and props before plating the hero dish for best results. |
| Light with intent | Soft, natural lighting and foam boards refine shadows and enhance props without overpowering the food. |
| Evaluate and refine | Address clutter, proportion, and prop choices one at a time for consistent, professional images. |
Essential tools and props for captivating food photos
With the creative potential set, let’s focus on exactly what you’ll need to get started.
Strong food photography begins with the right materials. Before you even think about composition or lighting, you need a solid prop kit and a background that works hard for every shot. Getting this foundation right saves you time on set and gives your images a consistent, polished look.
The core prop categories
Every experienced food photographer builds their kit around a few reliable prop types. Here’s what to focus on:
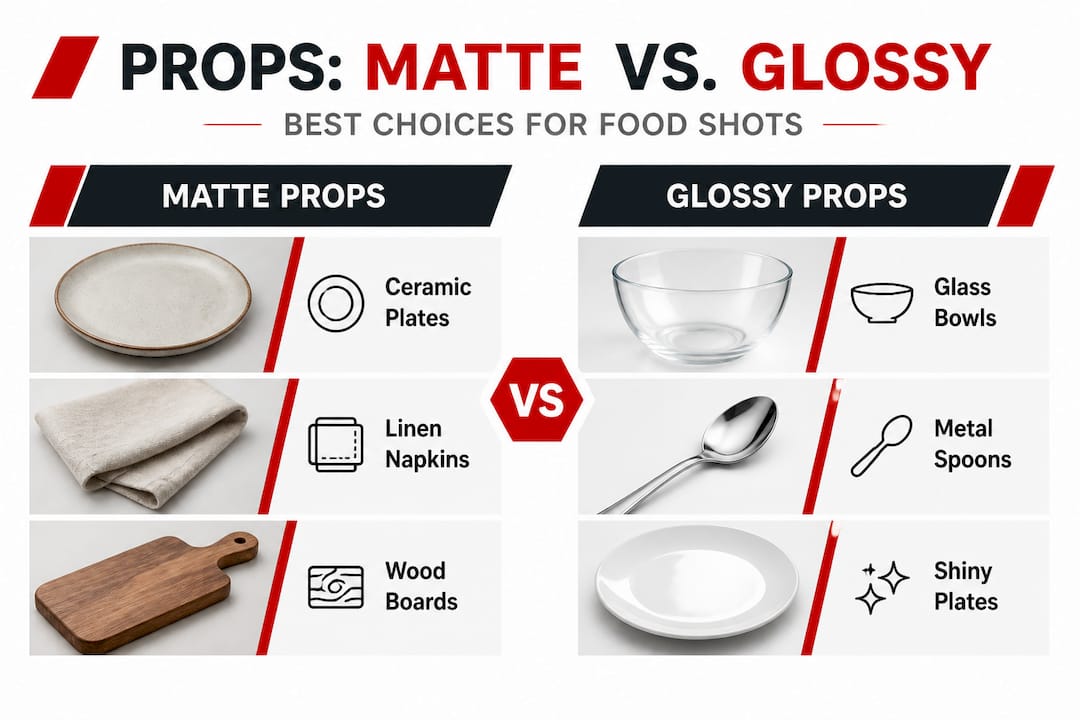
- Dishware: Matte ceramic plates and bowls in white, cream, charcoal, or warm earth tones are workhorses. They photograph cleanly and let the food take center stage.
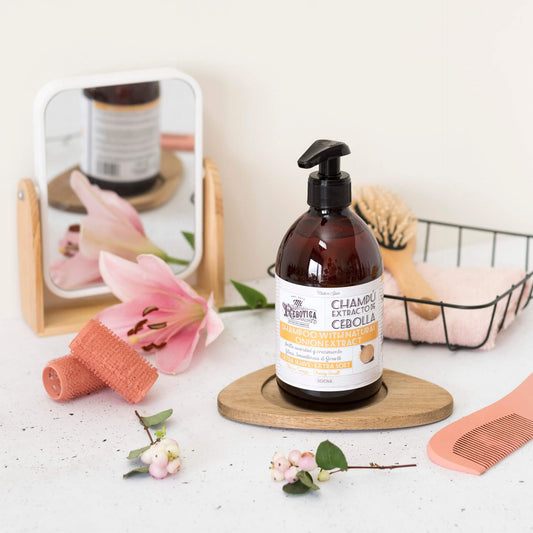
- Linens: Linen napkins and cotton dish towels add texture and softness. A loosely folded napkin in the corner of a shot instantly makes a scene feel lived-in and warm.
- Utensils: Aged silverware, wooden spoons, and matte-finish cutlery add authenticity without grabbing too much attention.
- Glassware: Simple, clear glasses or ceramic mugs work well. Avoid anything too reflective or overly decorative.
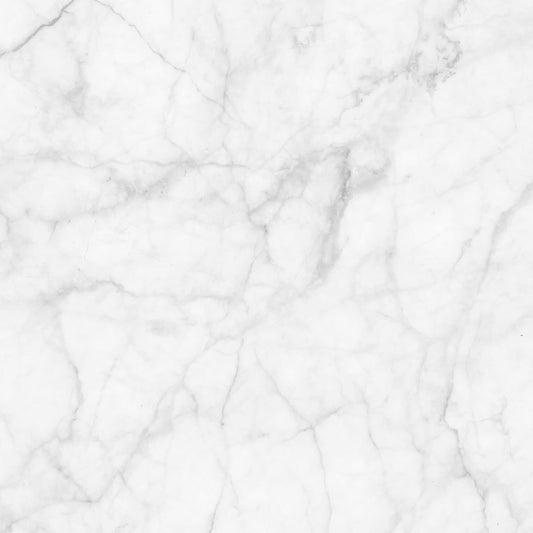
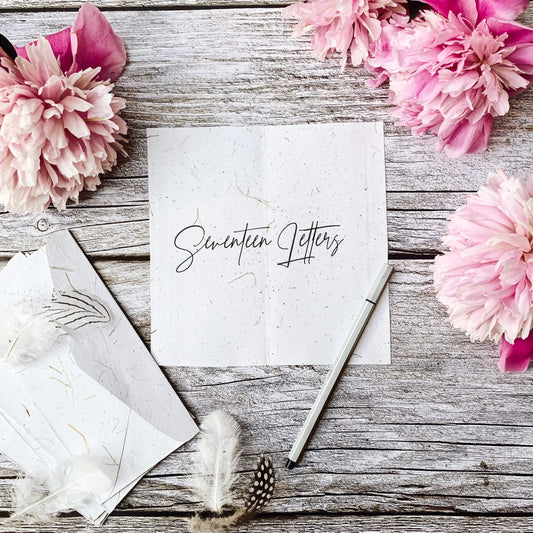
- Textured surfaces: Wood boards, stone tiles, and marble slabs create depth and visual interest beneath the hero dish.
You should use matte-finish props and dishware to avoid glare and reflections, preferring neutral colors like white, black, or earth tones that complement rather than compete with the food. This is one of the most practical rules in food photography, and it applies whether you’re shooting with a DSLR or a smartphone.
Your basic equipment checklist
| Item | Purpose | Recommended option |
|---|---|---|
| Camera or smartphone | Capturing the image | DSLR, mirrorless, or recent smartphone |
| Tripod | Stability and consistency | Flexible or tabletop tripod |
| White foam board | Fill light and reflector | 20x30 inch board |
| Black foam board | Shadow deepening | Same size as white |
| Backdrop or surface | Scene background | Vinyl wood, marble, or stone |
| Diffuser or sheer curtain | Softening harsh light | White fabric over window |
Pro Tip: Invest in at least two versatile backdrop surfaces before buying more props. A wood-grain and a marble-style backdrop cover the majority of food photography styles, from rustic farmhouse to clean modern editorial. Having the right background in place makes every prop look intentional rather than random.
Choosing the right background is one of the most underrated decisions in food photography. A well-matched backdrop pulls the whole scene together. Look for surfaces that add texture without competing with the dish, and think about choosing the perfect background as you would a set in film: it should support the story, not steal it.
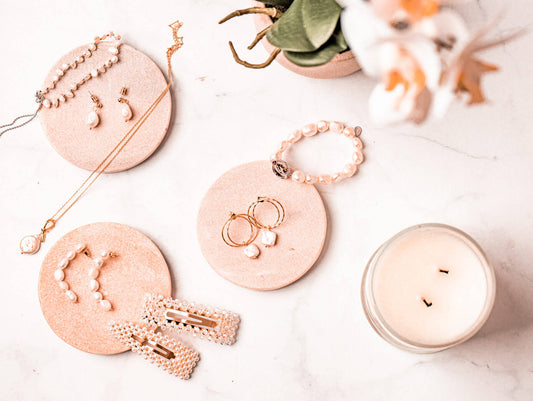
Color palette matters too. Neutral, desaturated backgrounds are forgiving and versatile. Bright or highly saturated backdrops can clash with food tones and make editing harder. Start neutral, then experiment with warmer or cooler tones once you understand how light interacts with different surfaces. Learning how backdrops elevate visual impact becomes clearer once you see the same dish shot on three different surfaces side by side.
Designing your scene: Composition and layering with props
Once you’ve gathered the right tools and props, the next step is crafting a dynamic composition.
Layering is the technique that separates a professional food shot from a snapshot. It means building your scene in intentional levels, each one adding depth and context without overwhelming the viewer. When done right, the eye moves naturally from background to foreground and settles on the hero dish.
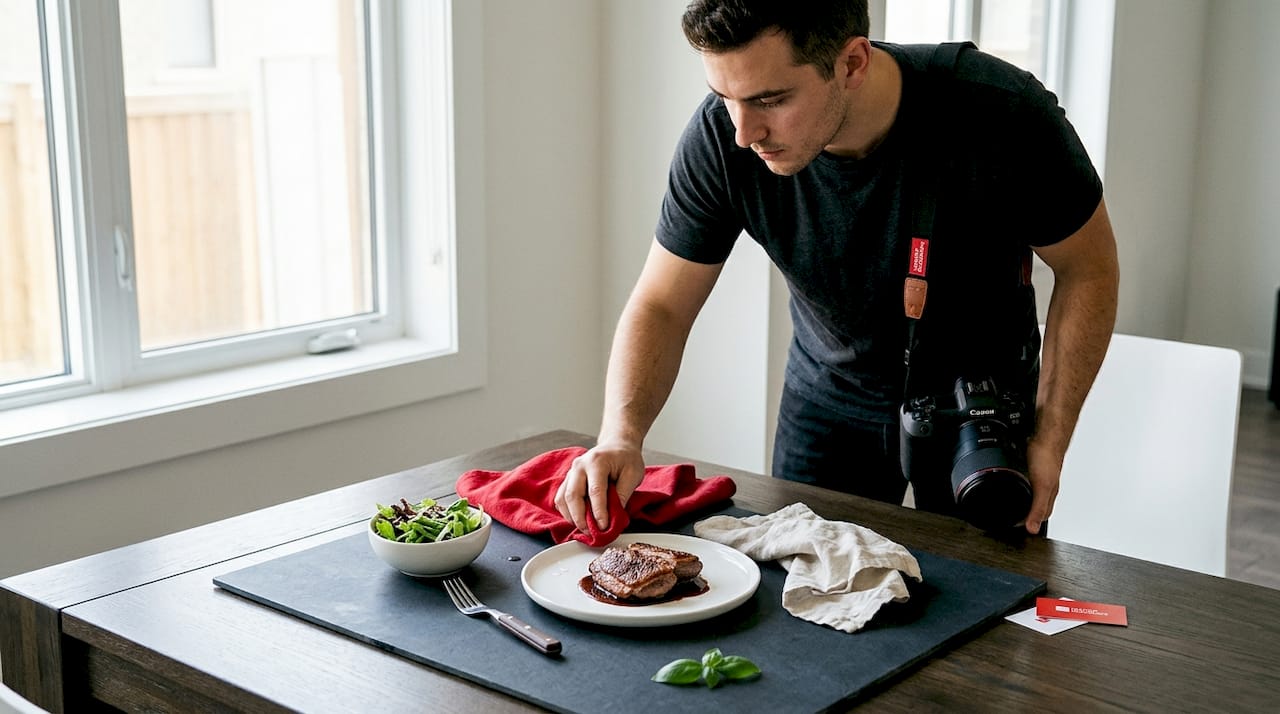
How to layer a food scene
Layer elements for depth following this sequence: surface (wood or marble backdrop) → linen or napkin → plate or bowl → food → garnish. Then use negative space to focus on the hero dish and prevent clutter. This is the foundation of effective food styling.
Here’s a step-by-step approach you can use for every shoot:
- Start with your backdrop. Lay your surface or background first. This sets the mood and color palette for everything that follows.
- Add fabric or texture. Place a linen, napkin, or piece of burlap slightly off-center to soften the scene and break up flat surfaces.
- Position the plate or bowl. Don’t always center it. Slightly off-center positioning often looks more dynamic and natural.
- Use stand-in food for early tests. Start with test food and props for composition testing to preserve hero dish freshness. Build iteratively, adding one prop at a time. Use smaller plates and bowls for better scale in the frame.
- Add the hero dish. Once you’re happy with the layout, swap in the real food.
- Introduce garnishes last. Fresh herbs, a drizzle of oil, or a pinch of salt add life to a dish just before you shoot.
Negative space is one of the most powerful composition tools available. Leaving parts of your backdrop empty gives the eye somewhere to rest and makes the food feel more important. A crowded frame screams effort. A balanced one looks effortless.
Cluttered vs. deliberate prop placement
| Approach | Visual result | Viewer experience |
|---|---|---|
| Too many props, tight framing | Busy, chaotic, hard to focus | Viewer feels overwhelmed |
| One or two props, intentional placement | Clean, purposeful, elegant | Viewer focuses on the food |
| Layered props with negative space | Dynamic, deep, professional | Viewer engages and lingers |
| Props centered around the dish | Balanced, story-driven, cohesive | Viewer understands the narrative |
Pro Tip: Scale down your plate size relative to the frame. A smaller plate makes the food look more generous and fills the frame more naturally. This small composition technique is often the first thing food stylists learn and the last thing beginners try.
Think of the scene as a piece of visual art. Every element should have a reason to be there. If removing a prop doesn’t change the story, remove it. This restraint is exactly what separates editorial-grade food photography from the kind that blends into the feed. The best food photographers, much like visual artists who merge art and food, treat every prop as a deliberate creative decision.
Lighting and angles: Making props work for your food
With the scene designed, the secret to drawing viewers in lies in balancing light and choosing the right perspective.
You can have perfect props and a flawless composition, but bad lighting will erase all of it. Light defines shape, texture, and mood. It also determines whether your props look natural and integrated or harsh and out of place.
Setting up your natural light station
Position your setup near a north-facing window for soft natural light. Use a white foam board for fill light on the opposite side of the window, and a black foam board to deepen shadows when needed. For flat lays with props, shoot at f/8 to f/11 aperture for maximum sharpness across the scene.
Here’s a quick reference for matching light setup to your goals:
- Soft, even light: North-facing window on a cloudy day, no direct sun hitting the scene
- Moody shadows: Black foam board on the non-window side, let shadows fall naturally
- Bright, airy look: White foam boards on both sides, overcast outdoor light
- Warm, golden feel: Afternoon sun filtered through a sheer curtain
- Studio setup: Continuous LED lights with a large softbox, mimicking window light
Managing light interaction with props is where styling with durable backdrops becomes especially relevant. High-quality vinyl backdrops don’t shift color under different light temperatures the way painted wood or paper surfaces do, giving you consistency across shoots.
“Fill light and controlled shadow are what make props feel three-dimensional on a flat screen. Without deliberate shadow play, even the best-styled scene can look lifeless.”
Shooting angles by food type
Match your angle to the food type: overhead for flat lays like pizzas and salads with props, 45 degrees for table-like views of bowls and plates, and eye-level for height in layered dishes like burgers or cakes. Toggle between angles to find the one that works best for each specific dish.
Here’s a simple cheat sheet:
- Overhead (90 degrees): Best for pizzas, grain bowls, charcuterie boards, pancakes, and any dish with a complex, beautiful top
- 45 degree angle: Ideal for pasta, soups, salads, and anything plated on a wide bowl or plate
- Eye level (0 to 15 degrees): Perfect for burgers, layered cakes, ice cream stacks, and drinks that show height and layers
Building a basic DIY light control setup doesn’t require a professional studio. A spare room, a few foam boards, and a clean, reliable backdrop surface give you repeatable results every time.
Troubleshooting and common mistakes when using props
Even with strong concepts, small mistakes can undermine your results. Here’s how to spot and solve them before sharing your photos.
The most common prop mistakes and how to fix them
Food photographers at every level run into the same issues. Knowing what to look for makes them easy to avoid.
- Over-cluttered scenes: Too many props pull focus from the food. If you can’t immediately identify the hero dish in the frame, you have too much going on. Remove props one at a time until the food is clearly the star.
- Glossy dishware and surfaces: Glossy props introduce distracting reflections and hot spots. Always use matte-finish props and dishware to avoid glare, preferring neutral colors that complement rather than compete with the food.
- Skipping test shots: Shooting straight to the hero dish is a common beginner mistake. You risk wilting greens, melting ice cream, and food that loses its appeal under warm lights. Always use test food for early composition checks to preserve the hero dish’s freshness, building your scene iteratively.
- Ignoring scale: Props that are too large overwhelm the dish. Props that are too small disappear. Compare each prop to your hero dish before placing it in the scene.
- Matching props to the wrong background: A sleek marble backdrop paired with rustic wooden utensils can look mismatched unless the contrast is intentional. Think about whether your props and background tell the same story.
Pro Tip: After every test shot, step back from the screen and look at the image with fresh eyes. Your first instinct about what feels off is almost always right. Adjust one prop at a time and reshoot rather than changing everything at once. This approach keeps your food backdrop setup clean and your troubleshooting process systematic.
Consistency is the goal. Once you find a prop and background combination that works for a specific style, document it. Take a reference photo of your setup, note the light direction and foam board positions, and save it for future shoots.
Our take: Why prop-driven food photography is more than aesthetics
There’s a tendency to think of props as decoration, as the garnish on top of the real work. We’d push back on that. Props are narrative tools. They tell the viewer where a dish belongs, what time of day it is, who made it, and how it should feel to eat it. A worn linen napkin and an old ceramic mug communicate something completely different from a clean slate and polished silverware, even when the food is identical.
The photographers who produce the most memorable food images aren’t the ones with the biggest prop collections. They’re the ones who choose carefully and use restraint. One well-placed prop that reinforces the story is worth more than five that fill space. This is the difference between a scene that feels designed and one that feels discovered.
There’s also an emotional dimension that gets underestimated. The role of backgrounds in food photography success goes beyond color and texture. The right background, paired with a single intentional prop, can trigger memory and anticipation. A rustic wood surface with scattered flour and a linen towel doesn’t just frame a loaf of bread. It makes the viewer feel warmth, home, and hunger.
Seasoned creators understand that small details carry emotional weight. A single leaf of fresh basil, a ring of condensation on a glass, a slightly rumpled napkin. These elements communicate authenticity and care. They make the viewer trust the image, and by extension, the brand or recipe behind it.
Elevate your food photography with backdrops that make props shine
Armed with these techniques, discover how the right background can unlock your photo’s full potential.
At Instant Backdrops, we design our vinyl surfaces specifically for prop-focused food photography. Our backdrops are spill-proof, stain-resistant, and printed at high resolution so they hold up beautifully in close-up shots and under different lighting conditions. Whether you’re working with a marble, wood, or stone surface, every backdrop in our range is built to complement your props and let the food take center stage.
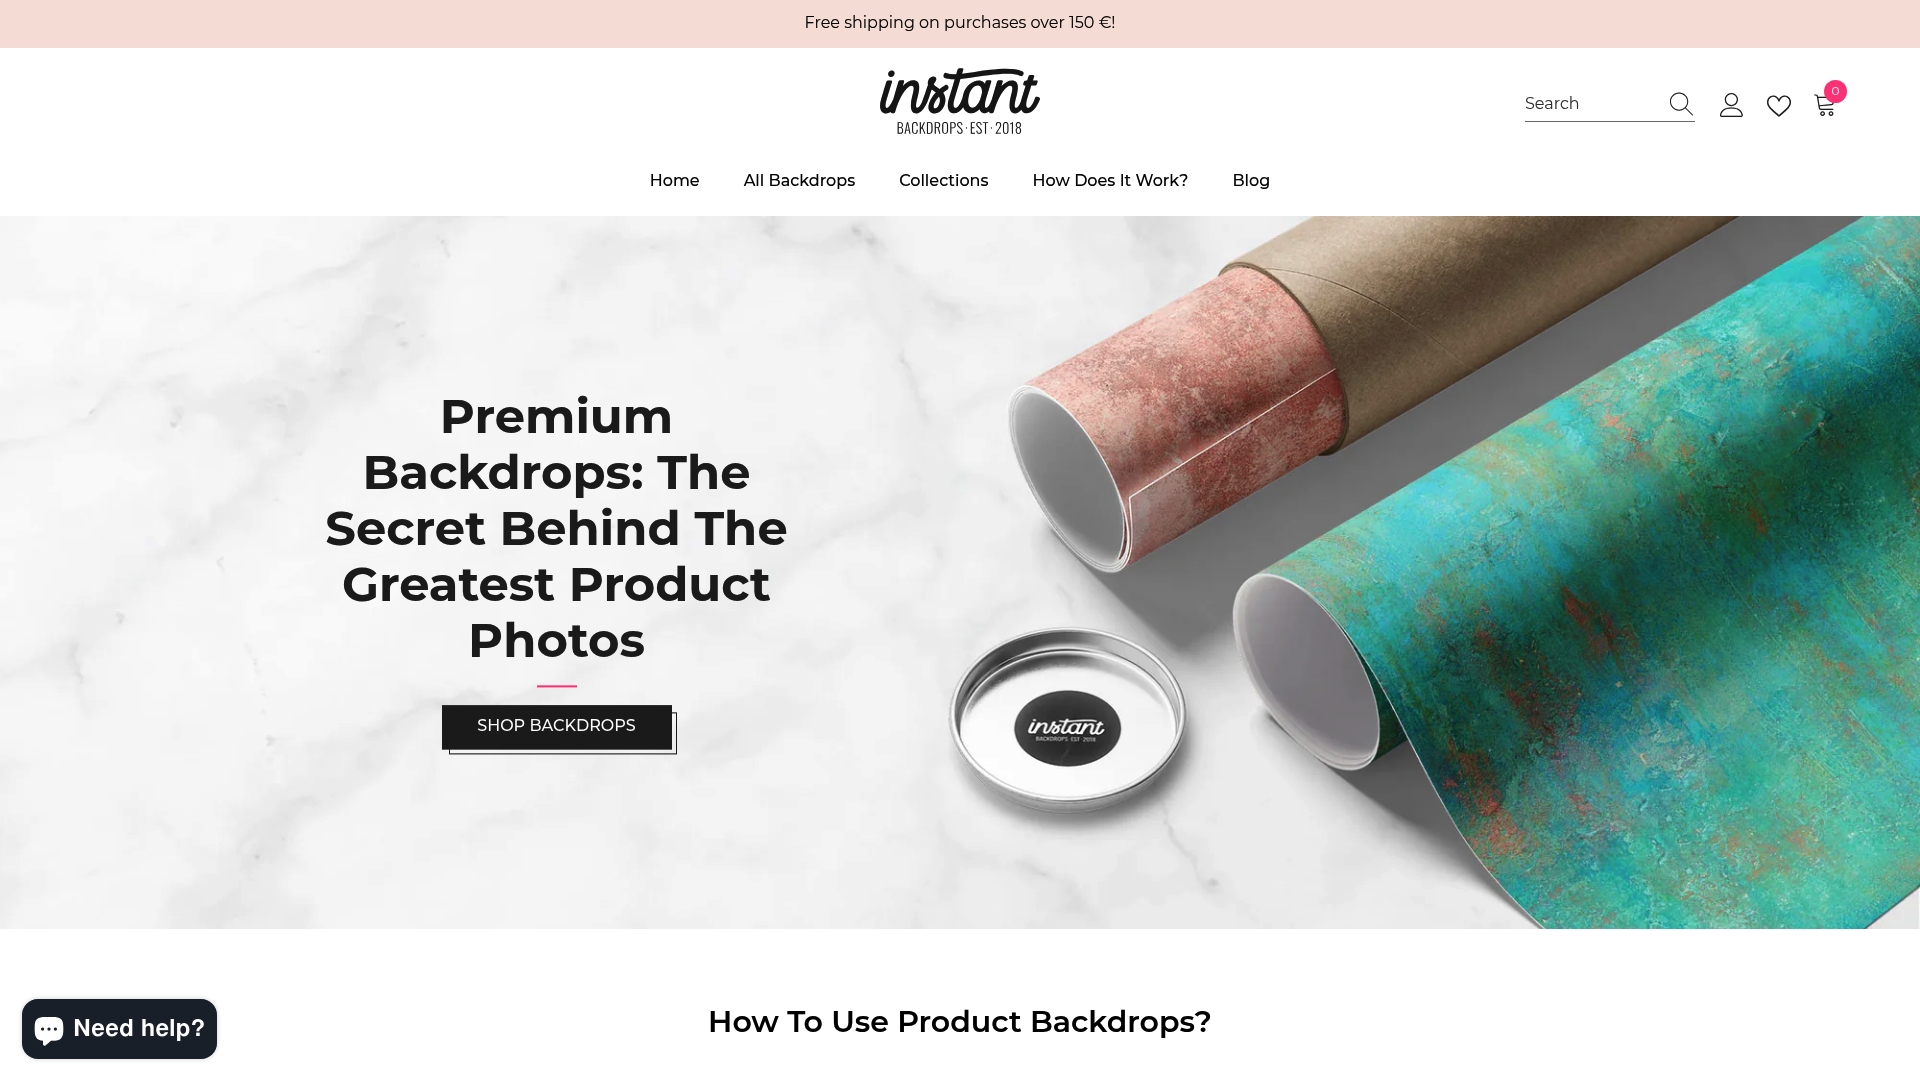
Our collections include a wide variety of textures and tones, from warm aged wood to cool dark slate, giving you a versatile foundation for every style and dish. Bundle deals make it easy to build a practical prop-ready studio without overspending. Browse the full range and find the backgrounds that work hardest for your creative vision.
Frequently asked questions
What props work best for food photography beginners?
Start with matte white or neutral plates, linen napkins, and wooden surfaces. These versatile, glare-free options work with nearly every type of food and lighting setup.
How do I prevent my food photos from looking cluttered with props?
Build your scene one prop at a time and rely on negative space to guide the viewer’s eye. Layering with restraint keeps the hero dish clearly at the center of the story.
What lighting setup is best for shooting food with props?
Place your setup near a north-facing window for soft, consistent natural light. A white foam board as fill on the opposite side of the window balances the light beautifully across props and dish alike.
Should I use real food in test shots?
Use stand-in food or test props to lock in your composition before the hero dish is ready. Preserving hero dish freshness until the final shot is one of the most impactful habits you can develop as a food photographer.
Recommended
- Food Photography Background Tips for Stunning Visuals – Instant Backdrops
- Master Food Photography Composition: Expert Guide – Instant Backdrops
- Food Backdrop Setup Guide: Elevate Your Food Photography – Instant Backdrops
- Food Photography Backdrop Importance: Impact on Visual Appeal – Instant Backdrops