

How to Shoot on Vinyl Backdrops for Product Photos
Finding the right vinyl backdrop can turn a frustrating product shoot into a seamless, efficient session. For American photographers and e-commerce sellers, backdrop quality matters as much as lighting and composition when showcasing goods online. This guide explores actionable steps for preparing vinyl backdrops, mastering lighting, arranging products, and dialing in camera settings so your photos look polished and your workflow stays quick.
Table of Contents
- Step 1: Prepare Your Vinyl Backdrop For Shooting
- Step 2: Position Your Lighting For Optimal Results
- Step 3: Arrange Products For Balanced Composition
- Step 4: Adjust Camera Settings For Backdrop Clarity
- Step 5: Test Shots And Review Image Quality
Quick Summary
| Main Insight | Explanation |
|---|---|
| 1. Prepare the Vinyl Backdrop | A clean, smooth vinyl backdrop ensures professional results and enhances the visual appeal of product photography. |
| 2. Use Effective Lighting Techniques | Implement a three-point lighting setup to enhance product features and create depth while minimizing shadows and glare. |
| 3. Master Composition Principles | Utilize techniques like the rule of thirds and negative space to create balanced, visually engaging product images. |
| 4. Adjust Camera Settings Precisely | Set optimal camera parameters to capture high-quality images by minimizing noise and ensuring clarity throughout the shot. |
| 5. Conduct Test Shots Thoroughly | Regularly review test images for exposure, color accuracy, and clarity to make necessary adjustments before the final shoot. |
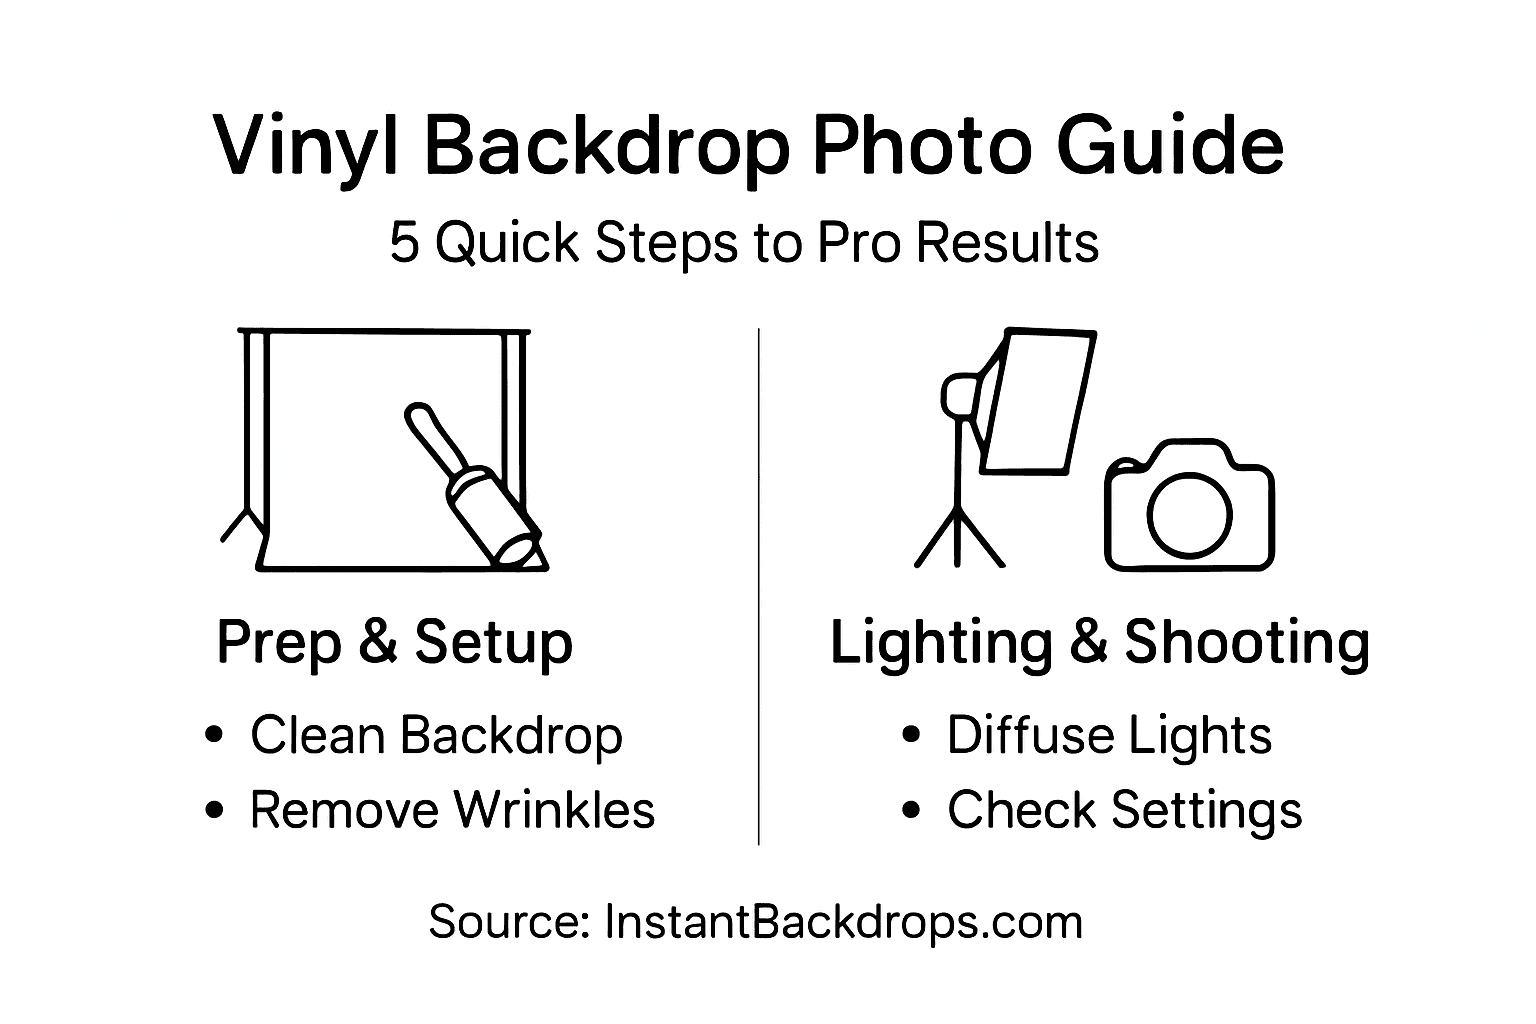
Step 1: Prepare Your Vinyl Backdrop for Shooting
Successfully shooting product photos starts with meticulous backdrop preparation. A smooth, clean vinyl backdrop will elevate your visual presentation and ensure professional-looking results.
Begin by selecting the right backdrop size that matches your shooting space and product dimensions. Carefully measure your intended shooting area to confirm the vinyl backdrop will provide full coverage without awkward edges or insufficient background area.
Prepare your backdrop with these essential steps:
- Inspect the vinyl surface thoroughly for any imperfections or dust
- Smooth out any potential wrinkles using gentle techniques
- Position the backdrop to create a seamless sweep from vertical to horizontal surfaces
- Secure backdrop edges using professional-grade gaffer tape if needed
Ensure your backdrop is taut and wrinkle-free by hanging it carefully on a sturdy support frame or mounting system. Take time to adjust the curve and tension, creating a professional-looking seamless background that allows your product to shine.
Here’s a quick reference comparing vinyl backdrop preparation tools and their purpose:
| Tool | Purpose | Benefit |
|---|---|---|
| Lint roller | Remove dust from backdrop | Ensures clean background |
| Microfiber cloth | Polish surface without scratching | Prevents visible smudges |
| Gaffer tape | Secure backdrop edges | Maintains seamless sweep |
| Support frame | Hold backdrop taut | Reduces wrinkles and sags |
| Tape measure | Verify backdrop coverage | Avoids awkward background |
Pro Tip: Keep a lint roller and microfiber cloth nearby to quickly remove any dust or debris from your vinyl backdrop before shooting.
Step 2: Position Your Lighting for Optimal Results
Lighting can make or break your product photography, transforming an ordinary shot into a professional-grade image. Mastering precise lighting techniques will help you create stunning visual presentations that highlight your product’s best features.
To achieve exceptional results, implement a strategic three-point lighting setup:
- Key light: Primary illumination source positioned at a 45-degree angle from your product
- Fill light: Softer light positioned opposite the key light to reduce harsh shadows
- Backlight: Positioned behind the product to create depth and separation
Soft, controlled lighting prevents unwanted glare and ensures your vinyl backdrop looks smooth and professional.
Carefully adjust your lights using diffusers and reflectors to spread illumination evenly. This technique prevents shiny spots on vinyl surfaces and creates a uniform background that makes your product pop. Pay close attention to light intensity and angle to minimize harsh shadows and create a natural, appealing look.
Pro Tip: Invest in adjustable LED panels with brightness controls to fine-tune your lighting setup without constantly repositioning physical lights.
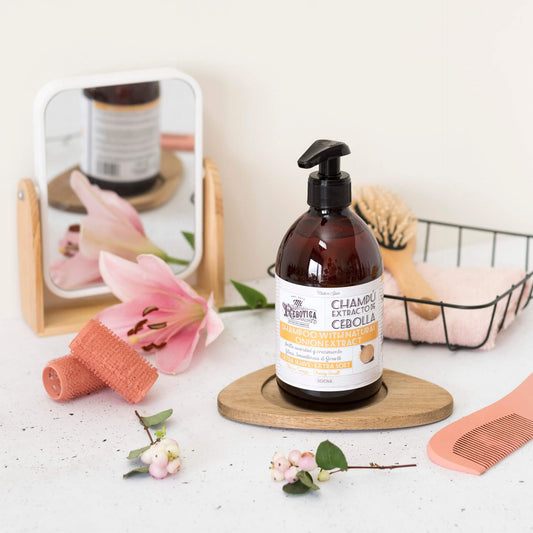
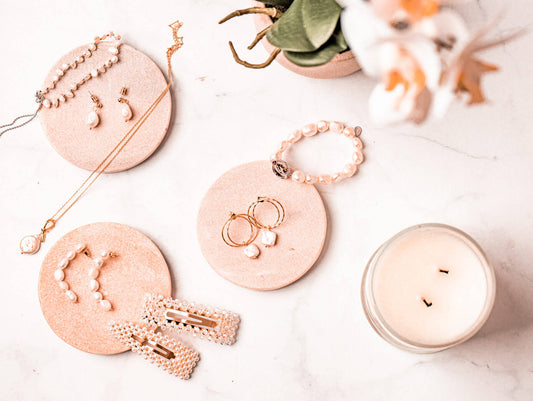
Step 3: Arrange Products for Balanced Composition
Creating a visually compelling product photograph requires more than just good lighting and a clean backdrop. Mastering effective composition techniques will transform your images from ordinary snapshots to professional marketing materials.
Apply these key composition principles to elevate your product photography:
- Rule of Thirds: Position your main product at strategic intersection points
- Odd Number Grouping: Use groups of 3 or 5 items for dynamic visual interest
- Negative Space: Create breathing room around your products to maintain focus
- Layering: Arrange items at different depths to add visual complexity
Strategic product placement guides the viewer’s eye and creates a narrative around your items.
When working with multiple products, think about visual balance and storytelling. Avoid cluttering the frame by keeping your composition intentional and clean. Pay attention to how each item relates to others, ensuring no single element overwhelms the scene.
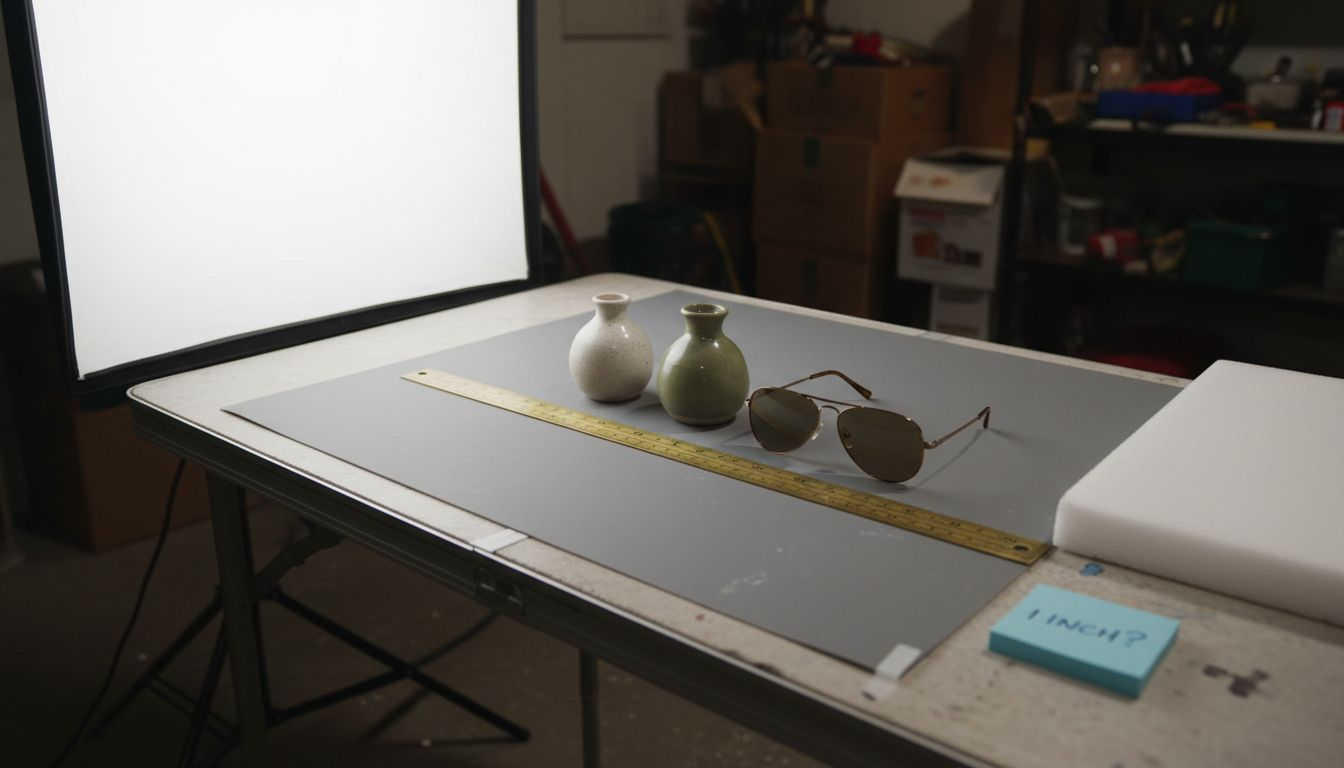
Pro Tip: Use a light-colored card or tape measure to help you precisely align and space products before taking your final shot.
Step 4: Adjust Camera Settings for Backdrop Clarity
Capturing professional-quality product images requires precise camera configuration. Understanding optimal camera settings will help you achieve crisp, clean shots that showcase your products and vinyl backdrop perfectly.
Focus on these critical camera settings for exceptional results:
- ISO: Keep between 100-200 for minimal noise
- Aperture: Set between f/8 and f/11 for sharp depth of field
- Shutter Speed: Use 1/125 second or faster to prevent blur
- White Balance: Manually calibrate to eliminate color casts
- File Format: Shoot in RAW for maximum post-processing flexibility
Professional photographers know that camera settings can make or break a product shot.
Using manual mode gives you complete control over these parameters. A sturdy tripod will help stabilize your camera, especially when working with slower shutter speeds. Take multiple test shots and review them carefully, checking both product details and backdrop clarity.
Here’s a summary of critical camera settings and their impact on product photography results:
| Setting | Recommended Value | Impact on Photo Quality |
|---|---|---|
| ISO | 100-200 | Minimizes image noise |
| Aperture | f/8 to f/11 | Achieves sharp depth of field |
| Shutter Speed | 1/125 sec or faster | Prevents motion blur |
| White Balance | Manual calibration | Eliminates color cast |
| File Format | RAW | Maximizes editing flexibility |
Pro Tip: Keep a gray card handy to quickly and accurately set custom white balance under different lighting conditions.
Step 5: Test Shots and Review Image Quality
Critical evaluation of your product photography requires a systematic approach to testing and reviewing images. By carefully examining your test shots, you can identify and correct potential issues before your final shoot.
Use this comprehensive checklist when reviewing your test images:
- Exposure: Check for balanced lighting across the entire frame
- Color Accuracy: Verify true-to-life product and backdrop colors
- Backdrop Quality: Inspect for wrinkles, shadows, or uneven tones
- Reflections: Look for unwanted glare on vinyl surface
- Sharpness: Examine product details and overall image clarity
Small adjustments during test shots can prevent costly reshoots and ensure professional results.
Take multiple test shots with slight variations in lighting, camera angle, and camera settings. Zoom in on the image to check minute details, paying special attention to the vinyl backdrop’s smoothness and the product’s presentation. Be prepared to make incremental adjustments to your setup until you achieve the perfect shot.
Pro Tip: Use a color calibration card in your test shots to ensure consistent and accurate color reproduction across different lighting conditions.
Elevate Your Product Photography with Premium Vinyl Backdrops
Creating flawless product photos on vinyl backdrops demands attention to detail in backdrop preparation, lighting, composition, and camera settings. If you struggle with unwanted wrinkles, distracting reflections, or inconsistent color that diminish your image quality, you are not alone. Achieving a seamless sweep and a clean, durable surface that stands up to spills and close-ups is critical to your success. Professional results depend on reliable, high-quality materials that help you maintain control and consistency throughout every shoot.
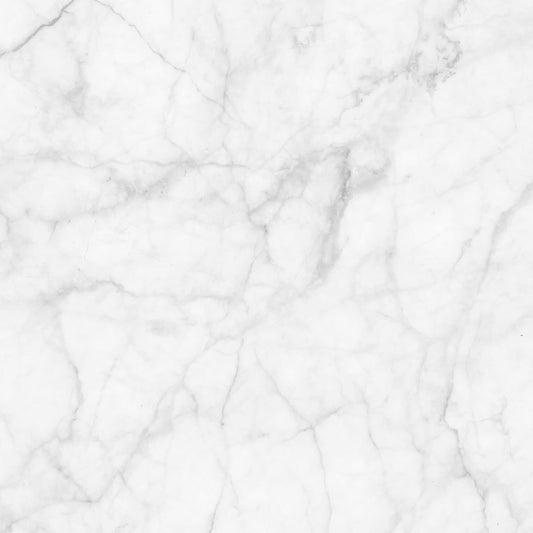
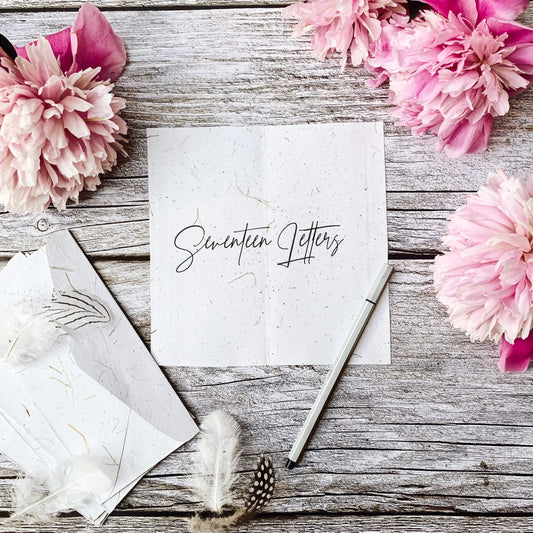
Discover how All product photography backdrops – Instant Backdrops offer ultra-realistic, stain-resistant vinyl solutions designed to solve these very challenges. Our backdrops come in large sizes with vibrant, high-resolution prints that remain flawless under intense lighting and during detailed post-processing. Whether you want marble, wood, or decorative wall looks, you will find versatile options engineered to enhance your visual storytelling and product appeal.
Dont let backdrop imperfections hold you back from professional product presentations. Visit Instant Backdrops now to explore our curated collections crafted for photographers and content creators who demand quality and practicality. Upgrade your studio setup today to capture clean, vivid images that truly showcase your products with confidence.
Frequently Asked Questions
How can I prepare my vinyl backdrop for product photography?
To prepare your vinyl backdrop, start by inspecting the surface for dust and imperfections. Clean it with a lint roller or microfiber cloth, then secure it with gaffer tape to ensure it is smooth and wrinkle-free before shooting.
What lighting setup is best for shooting on a vinyl backdrop?
A three-point lighting setup is ideal for product photography on vinyl backdrops. Position a key light at a 45-degree angle, a fill light on the opposite side, and a backlight behind the product to eliminate shadows and enhance depth.
How should I arrange my products for photography on vinyl backdrops?
Use effective composition techniques like the Rule of Thirds and odd number grouping to arrange your products. Keep products evenly spaced using negative space and layering to create visual interest and avoid a cluttered look.
What camera settings should I use for photographing products on vinyl backdrops?
Set your camera to an ISO of 100-200 and an aperture between f/8 and f/11 for clear images. Use a shutter speed of 1/125 seconds or faster to prevent blur, and always calibrate your white balance manually to avoid color casts.
How can I check image quality during my product photography shoot?
Perform test shots to review image quality by checking exposure, color accuracy, and the backdrop’s smoothness. Take multiple shots with different lighting and angles to identify any needed adjustments for your final images.
What should I do if my vinyl backdrop shows wrinkles or shadows in photos?
If your vinyl backdrop shows wrinkles or shadows, ensure it’s taut and secured properly using a support frame. Adjust the position of your lights to minimize shadows and take new test shots to verify the backdrop’s appearance.