


Photography Backdrop Setup Guide for Studio-Quality Shots
Selecting the right backdrop often separates ordinary snapshots from visually compelling product images that attract attention. For professional photographers and e-commerce sellers, investing in a portable, high-quality vinyl backdrop means turning creative ideas into polished results while adapting to countless shooting scenarios. With each backdrop offering unique material qualities and textures, finding the best fit can enrich your storytelling and spotlight your subject in any global marketplace.
Table of Contents
- Step 1: Select the Ideal Backdrop for Your Shoot
- Step 2: Prepare Your Space and Equipment
- Step 3: Mount and Secure the Vinyl Backdrop
- Step 4: Adjust Lighting for Even Coverage
- Step 5: Verify Positioning and Make Final Checks
Quick Summary
| Key Insight | Explanation |
|---|---|
| 1. Select the Right Backdrop | Choose backdrops based on purpose, subject, and mood for impactful photos. |
| 2. Invest in Essential Equipment | High-quality continuous lighting, cameras, and supports enhance photography. |
| 3. Choose Correct Mounting Method | Secure and mount backdrops for a wrinkle-free, professional appearance. |
| 4. Optimize Lighting Techniques | Use strategic lighting placements for consistent and flattering backdrop coverage. |
| 5. Conduct Final Checks | Verify backdrop tension and lighting to ensure a polished photographic setup. |
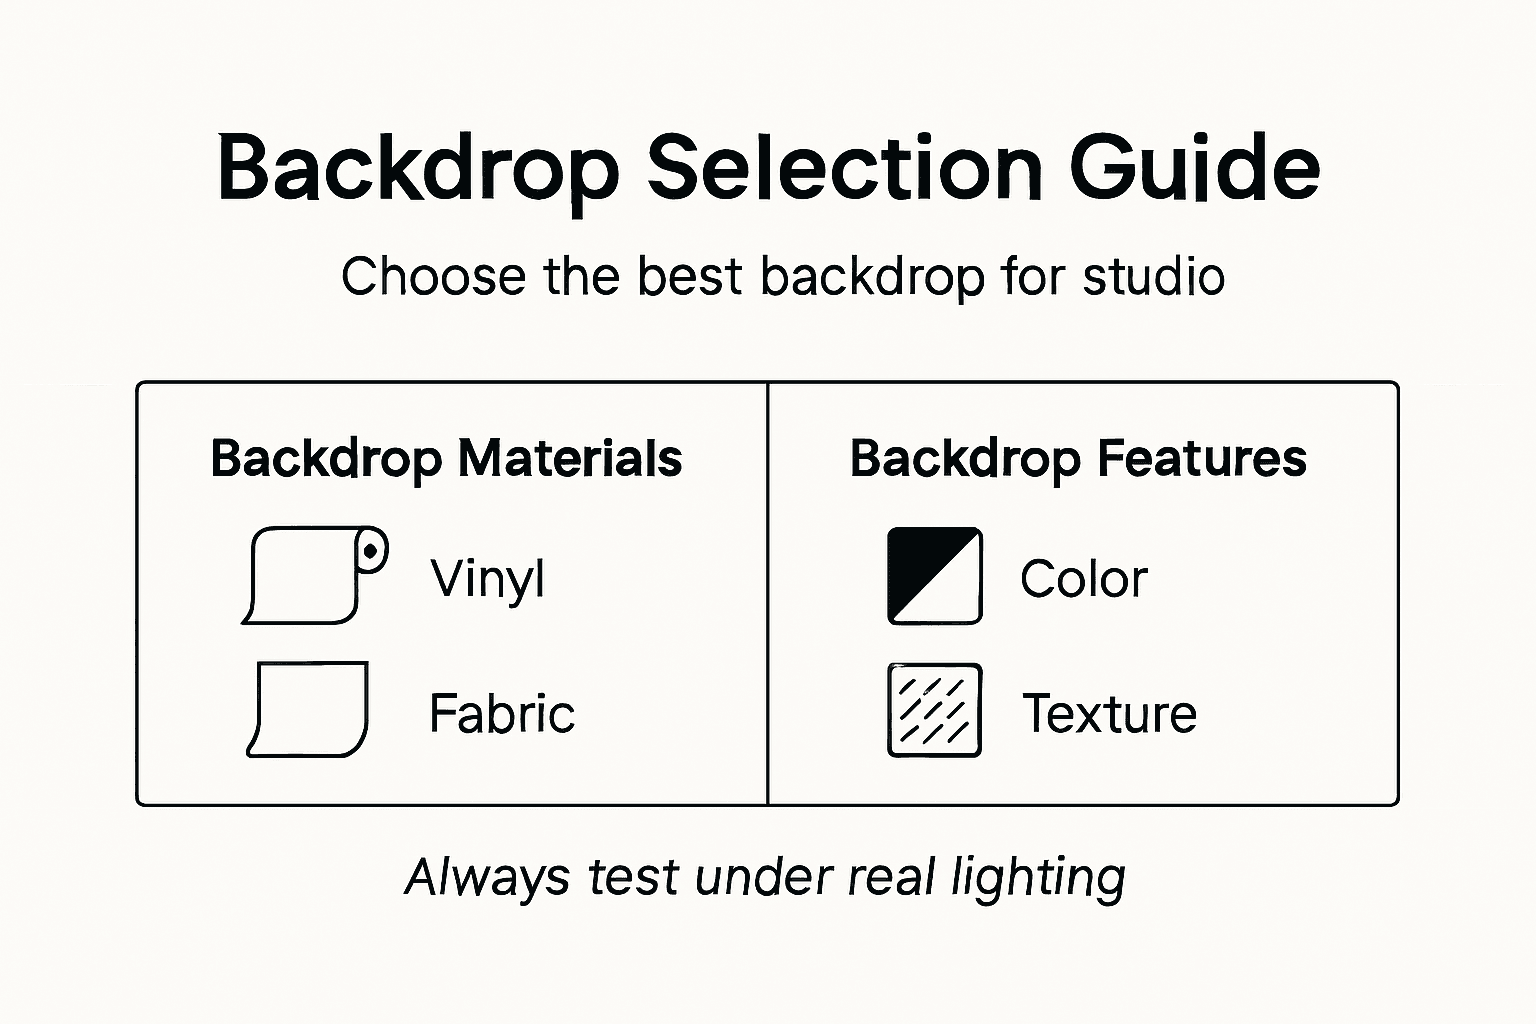
Step 1: Select the Ideal Backdrop for Your Shoot
Selecting the perfect photography backdrop transforms ordinary images into professional, captivating visual stories. The right backdrop acts as a powerful canvas that enhances your subject and communicates a specific mood or aesthetic.
Choosing a backdrop requires understanding several key factors. Professional photographers know that backdrop selection goes far beyond simple color matching. Understanding backdrop characteristics involves evaluating multiple critical elements:
- Purpose of the photoshoot
- Desired visual mood and style
- Subject characteristics
- Lighting conditions
- Available studio space
- Material durability
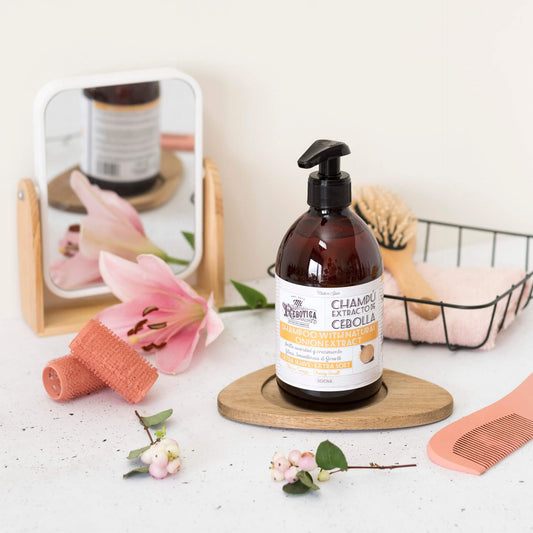
Your backdrop serves as more than just a background - it’s a strategic visual element that can dramatically influence image perception. Different materials interact uniquely with light and create distinct textures. Vinyl backdrops, for instance, offer versatility and durability that paper or fabric alternatives cannot match.
Consider the specific requirements of your photography genre. Product photographers might prioritize smooth, consistent surfaces, while lifestyle photographers could seek more textured, dynamic backgrounds. Match your backdrop to your creative vision and technical needs.
Here’s a comparison of common photography backdrop materials to help you select the right one for your shoot:
| Material Type | Durability | Texture Effect | Cleaning Ease |
|---|---|---|---|
| Vinyl | Very high | Smooth, reflective | Simple wipe-down |
| Paper | Moderate | Seamless, matte | Usually disposable |
| Fabric | High | Soft, textured | Machine washable |
Professional backdrops are an investment in your visual storytelling capabilities.
Pro Tip: Always test your backdrop under actual shooting conditions to understand how light, texture, and color interact before committing to a full session.
Step 2: Prepare Your Space and Equipment
Transforming your photography space into a professional studio requires strategic planning and thoughtful equipment selection. The right setup can dramatically enhance your ability to capture stunning, high-quality images.
Essential studio equipment forms the foundation of a successful photography workspace. Professional photographers invest in key tools that enable creative and technical excellence:
- Lighting equipment
- Adjustable light stands
- Backdrop supports
- High-quality camera bodies
- Professional lenses
- Editing software and hardware
Careful spatial arrangement is critical. Measure your available studio space meticulously and consider electrical capacity for lighting and equipment. Your studio layout should facilitate smooth workflow and provide flexibility for different shooting scenarios.
Each piece of equipment plays a strategic role in your photographic process. Invest in versatile, high-quality gear that can adapt to various shooting requirements. Consider modular lighting systems, portable backdrop stands, and multi-purpose camera accessories that provide maximum creative potential.
A well-organized studio is the foundation of consistently exceptional photography.
Pro Tip: Create a dedicated equipment checklist and conduct a full equipment test before each major photoshoot to ensure everything functions perfectly.
Step 3: Mount and Secure the Vinyl Backdrop
Mounting your vinyl backdrop correctly is crucial for creating professional-looking photographs with a seamless, polished appearance. The right installation technique ensures a smooth, wrinkle-free surface that enhances your visual composition.
Backdrop mounting techniques require careful preparation and strategic approach. Professional photographers recommend several installation methods:
- Backdrop stand systems
- Curtain rod installations
- Adhesive hook mounting
- Clamp-based securing methods
- Wall-mounted support brackets
Precision is key when setting up your backdrop. Measure your space meticulously and ensure the backdrop is perfectly level. Use a professional-grade level tool to guarantee straight alignment. Select mounting hardware that can safely support your vinyl backdrop’s weight without causing damage or potential shifting during your photoshoot.

Consider the specific requirements of your shooting environment. Some studios might benefit from permanent mounting solutions, while others require flexible, portable setup options. Choose mounting methods that provide stability and allow quick adjustments for different shooting scenarios.
Use this quick reference to choose the best mounting method based on your studio needs:
| Mounting Method | Flexibility | Installation Speed | Best For |
|---|---|---|---|
| Backdrop Stand System | High | Fast | Temporary setups |
| Curtain Rod | Moderate | Medium | Semi-permanent setups |
| Adhesive Hooks | Very high | Quick | Small/light backdrops |
| Wall Support Brackets | Low | Slow | Heavy/permanent mounts |
Proper backdrop installation transforms your technical setup into a professional photography environment.
Pro Tip: Always keep several backup mounting clips and temporary adhesive solutions in your studio kit to quickly resolve unexpected backdrop positioning challenges.
Step 4: Adjust Lighting for Even Coverage
Creating professional-quality photographs demands precise lighting techniques that transform your backdrop from ordinary to extraordinary. Mastering light placement is the key to achieving a flawless, consistent background that elevates your entire image.
Studio background lighting techniques require strategic positioning and careful equipment selection. Professional photographers recommend the following essential lighting approaches:
- Dual side lighting
- 45-degree angle positioning
- Softbox or diffuser usage
- Multiple light source configurations
- Gradient lighting strategies
Precision is critical when setting up your lighting. Position at least two lights symmetrically at 45-degree angles on either side of the backdrop. Use professional-grade diffusers to soften light and eliminate harsh shadows. Experiment with light intensity and angles to create uniform illumination that adds depth and dimension to your backdrop.
Your lighting setup should adapt to different backdrop materials and colors. Some vinyl backdrops might require more subtle lighting, while others benefit from dramatic gradient effects. Pay close attention to how light interacts with your specific backdrop, making incremental adjustments to achieve the perfect balance.
Masterful lighting transforms a simple backdrop into a professional photographic canvas.
Pro Tip: Invest in adjustable light stands with precise angle markings to consistently reproduce your ideal lighting setup across multiple shoots.
Step 5: Verify Positioning and Make Final Checks
The final stage of backdrop preparation requires meticulous attention to detail to ensure your photography setup meets professional standards. Careful verification transforms a good setup into an exceptional visual environment.
Photography backdrop verification techniques involve a systematic approach to quality control. Professional photographers recommend the following critical checks:
- Backdrop tension assessment
- Wrinkle elimination
- Alignment verification
- Lighting distribution test
- Subject distance calibration
Take test shots to assess every aspect of your setup. Check for subtle imperfections that might compromise image quality. Examine the backdrop for uniform tension, ensuring no loose areas or unexpected folds disrupt your visual composition. Pay special attention to the relationship between your subject, backdrop, and lighting to create a seamless, professional result.
Maintain a critical eye during your final review. Small adjustments can dramatically improve your image quality. Use your camera’s preview screen to check lighting, shadows, and overall backdrop appearance. Be prepared to make incremental modifications to achieve the perfect studio environment.
Precision in final checks separates professional photography from amateur attempts.
Pro Tip: Create a quick pre-shoot checklist that you can rapidly run through to catch potential setup issues before they impact your photoshoot.
Elevate Your Studio Setup with Premium Vinyl Backdrops
Setting up a flawless photography backdrop can be challenging. Wrinkles, uneven lighting, and limited durability often hold back your creativity and the professional quality of your shots. This guide highlights the importance of a seamless, wrinkle-free vinyl backdrop and even light coverage to bring your studio to life. With the right backdrop, you can confidently showcase your subject while maintaining a polished and consistent visual story.
Discover how Instant Backdrops transforms these challenges into opportunities. Our collection of ultra-realistic, durable, and stain-resistant vinyl backgrounds designed for product photography perfectly complements the techniques discussed in this guide. Whether you need textured surfaces like marble and wood or versatile seamless options, Instant Backdrops offers large, easy-to-clean backdrops that withstand close-up work and spills.
Ready to create studio-quality shots that stand out? Explore our full range of All product photography backdrops – Instant Backdrops and find the perfect fit from the Aristocrat backdrop collection for product & food photography – Instant Backdrops or the Nature backdrop collection for product & food photography – Instant Backdrops. Experience hassle-free setup, consistent results, and professional-grade visuals. Visit Instant Backdrops today and transform your photography environment with backdrops crafted for success.
Frequently Asked Questions
How do I select the right backdrop for my photography shoot?
Choosing the right backdrop involves analyzing the purpose of the photoshoot, desired mood, and subject characteristics. Evaluate backdrop materials and their textures, and always test your backdrop under actual shooting conditions to see how lighting and color interact.
What essential equipment do I need to prepare my photography studio?
Key studio equipment includes lighting systems, adjustable stands, backdrop supports, and high-quality cameras. Create a checklist of these items and test everything before your photoshoot to ensure optimal performance.
What are the best mounting methods for vinyl backdrops?
Effective mounting methods include backdrop stand systems, adhesive hooks, and wall supports. Choose a method based on your space requirements and ensure it’s securely installed to maintain a wrinkle-free appearance during your shoot.
How can I achieve even lighting for my backdrop?
To create even lighting, position two lights symmetrically at 45-degree angles and use diffusers to soften harsh shadows. Adjust the positioning and intensity of the lights as needed to ensure consistent illumination across your backdrop.
What final checks should I perform before starting my photoshoot?
Perform a series of checks, including assessing backdrop tension, eliminating wrinkles, and verifying lighting distribution. Take test shots to check for imperfections and make small adjustments to improve your images before the actual shoot.
How can I ensure my backdrop setup looks professional?
Achieving a professional backdrop setup requires attention to detail during the installation process and final checks. Validate alignment, check for uniform tension, and ensure your lighting complements your backdrop for the best visual impact.