

Master DIY photography backdrop workflow for vinyl setups
Setting up vinyl backdrops often feels time consuming and prone to last minute issues. A structured DIY workflow can save time and ensure consistent, professional quality results. You’ll learn practical steps, necessary tools, maintenance tips, and lighting setups for vinyl backdrops that transform your photography sessions into efficient, high quality productions.
Table of Contents
- Prerequisites: What You Need Before Starting Your Vinyl Backdrop Setup
- Stepwise Backdrop Setup Process
- Cleaning And Maintenance Of Vinyl Backdrops
- Lighting Setups That Complement Vinyl Backdrops
- Common Mistakes And Troubleshooting In Diy Vinyl Backdrop Workflows
- Expected Results And Quality Benchmarks
- Enhance Your Photography With Professional Vinyl Backdrops
- Frequently Asked Questions About Diy Photography Backdrop Workflow
Key takeaways
| Point | Details |
|---|---|
| Workflow efficiency | Systematic workflow cuts backdrop setup time by up to 40% |
| Tool selection | Proper tools and materials ensure wrinkle-free, durable vinyl backdrops |
| Wrinkle removal | Steaming is safer and more effective than ironing for vinyl wrinkle removal |
| Lighting technique | Diffused lighting reduces shadows and glare, enhancing image quality |
| Storage method | Rolling storage extends backdrop lifespan by up to 40% |
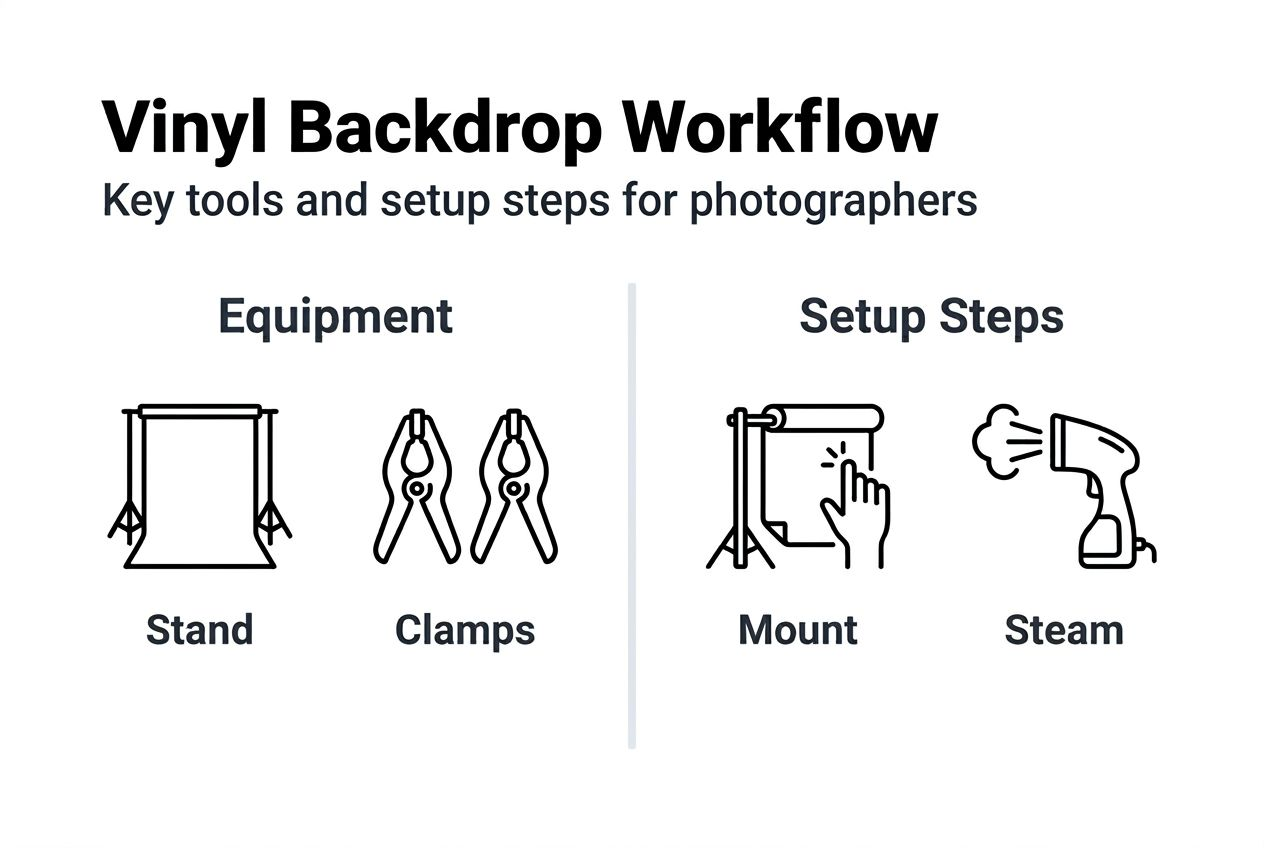
Prerequisites: what you need before starting your vinyl backdrop setup
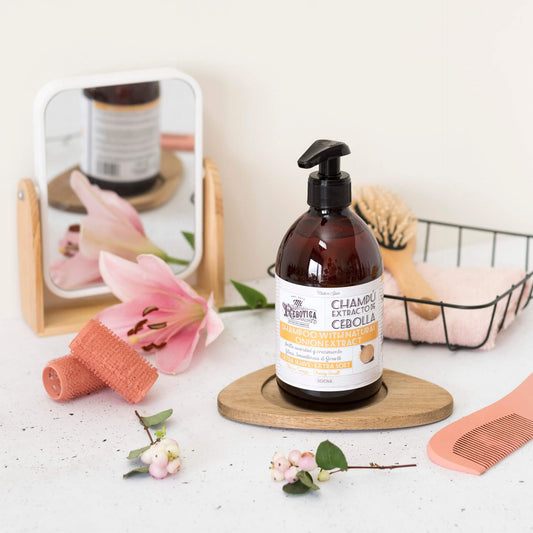
Gathering the right equipment before your shoot saves frustration and delivers professional results. Your essential toolkit starts with a portable vinyl backdrop that balances quality and portability. Portable vinyl backdrops weighing 3-5 pounds offer the best balance of durability and portability, facilitating quick transport with setup times under 15 minutes.
Your core equipment list includes a sturdy backdrop stand with adjustable height, weighted clamps to secure edges, and tension rods for smooth mounting. Cleaning supplies matter just as much, mild soap, soft microfiber cloths, and a vinyl compatible steamer keep your backdrop pristine. Never skip the steamer, it’s your best defense against wrinkles without risking damage.
Lighting equipment makes or breaks your final images. Softboxes create even, diffused illumination that flatters subjects and minimizes harsh shadows. Ring lights work exceptionally well for smaller product shots and food photography. Position these strategically to avoid direct glare on your vinyl surface.
| Equipment Category | Essential Items | Weight Range | Primary Function |
|---|---|---|---|
| Backdrop | Vinyl backdrop | 3-5 lbs | Background surface |
| Support | Stand, clamps, tension rods | 5-8 lbs | Secure mounting |
| Cleaning | Mild soap, soft cloth, steamer | 2-3 lbs | Maintenance |
| Lighting | Softboxes, ring lights | 3-6 lbs | Illuminate subject |
Portability considerations extend beyond weight. Choose backdrops that roll tightly without creasing and fit standard carrying cases. Durability features like stain resistance and waterproof surfaces handle spills during food shoots without permanent damage.
Pro Tip: Choose backdrops weighing 3-5 pounds for easy setup and transport under 15 minutes, allowing you to move quickly between locations without sacrificing quality.
Stepwise backdrop setup process
Your preparation pays off when you follow a systematic approach. Clear your workspace of obstacles and position your backdrop stand at the desired height. Check that all clamps and rods are within arm’s reach before unrolling your vinyl.
Step 1: Prepare your workspace by clearing a clean area with adequate space for your stand, lighting equipment, and shooting zone. Position your backdrop stand and verify stability before mounting.
Step 2: Unfold your vinyl backdrop carefully and slowly to avoid creating new creases. Roll it out from one edge rather than snapping it open, which can stress the material.
Step 3: Mount the vinyl using weighted clamps and tension rods at top and bottom edges. Secure clamps prevent unwanted movement and maintain tension across the entire surface.

Step 4: Address any visible wrinkles immediately with your vinyl compatible steamer. Hold the steamer 6-8 inches from the surface and work in smooth vertical passes. Never use an iron directly on vinyl, the heat causes permanent damage and discoloration.
Step 5: Adjust your lighting setup with softboxes or ring lights positioned at 45 degree angles to minimize shadows and eliminate glare. Test exposure with a few sample shots and refine placement as needed.
Step 6: Begin your photography session while periodically checking backdrop position and tension. Minor adjustments during longer shoots maintain consistent quality across all images.
Step 7: After completing your session, carefully remove clamps and roll your backdrop loosely with the printed side facing inward. Clean any spills or marks immediately while they’re fresh and easier to remove.
Pro Tip: Always secure the backdrop with weighted clamps at both top and bottom edges to prevent shifts during shooting that create distracting wrinkles and uneven surfaces.
Cleaning and maintenance of vinyl backdrops
Proper maintenance extends your investment and keeps your backdrops looking brand new. Address spills the moment they happen, fresh stains lift easily with mild soap and water applied with a soft cloth. Blot rather than scrub to avoid spreading the stain or damaging the print.
Avoid harsh chemicals, abrasive cleaners, and rough materials that scratch or dull the vinyl surface. Stick with gentle dish soap diluted in warm water for routine cleaning. For stubborn marks, let the soapy solution sit for 30 seconds before wiping.
Storage makes the biggest difference in backdrop longevity. Proper rolled storage increases lifespan by up to 40% by preventing creases and preserving print vibrancy. Never fold your vinyl, creases become permanent and visible in every shot.
Routine cleaning schedules depend on usage frequency. After every 3-5 shoots, perform a thorough cleaning even if no visible stains appear. Dust and oils accumulate invisibly and dull colors over time. A quick wipe down takes minutes but preserves professional appearance.
Between uses, store backdrops in a cool, dry location away from direct sunlight. UV exposure fades prints gradually, especially vibrant colors. Keep rolled backdrops upright or laid flat, never stack heavy items on top.
Pro Tip: Always roll your vinyl backdrop loosely with the printed side facing inward to protect the finish from scratches and maintain color vibrancy for hundreds of shoots.
Lighting setups that complement vinyl backdrops
Lighting transforms good backdrops into stunning backgrounds. Diffused light sources create the soft, even illumination that enhances texture and color fidelity on vinyl surfaces. Softboxes remain the gold standard for professional results.
Position your lights strategically to avoid direct glare that creates distracting hotspots. Place softboxes at 45 degree angles from your subject, pointing slightly downward. This arrangement minimizes reflections while maintaining depth and dimension.
Ring lights excel for smaller products and flat lay compositions. Their circular design provides wraparound illumination that eliminates harsh shadows entirely. Position ring lights directly above or in front of your subject for best results.
Harsh direct lighting creates problems on vinyl backdrops. Hard shadows distract from your subject and reflective hotspots wash out details. If you must use direct light, diffuse it through translucent panels or bounce it off white surfaces first.
Texture enhancement depends on lighting angles. Side lighting at shallow angles emphasizes the subtle texture variations in wood grain or marble patterns. Experiment with slight adjustments to find the sweet spot that brings your backdrop to life.
Color temperature consistency matters across all light sources. Mix warm and cool lights carefully or stick to one temperature throughout. Inconsistent color casts require extensive editing and never look quite right.
Regular adjustments during shoots maintain balanced exposure as natural light changes. Check your images frequently and tweak light positions to compensate. Small refinements prevent major editing headaches later.
Common mistakes and troubleshooting in DIY vinyl backdrop workflows
Avoiding common pitfalls saves time and prevents damage. Storage errors top the list, folding creates permanent creases that ruin shots. Always roll loosely instead. Improper storage like folding leads to creases, while steaming safely removes wrinkles without the damage ironing causes.
Mounting mistakes create ongoing frustration throughout shoots. Insecure clamps allow backdrops to slip and sag, creating visible wrinkles that appear in every frame. Double check all attachment points before starting and tighten any loose connections immediately.
Wrinkle removal errors cost photographers dearly. Ironing vinyl melts the surface and destroys prints permanently. Steaming offers a safer, more effective solution that relaxes material without heat damage. Keep a vinyl safe steamer accessible at every shoot.
Lighting failures reduce image quality dramatically. Failing to adjust lights as conditions change causes inconsistent shadows and exposure variations across your shoot. Monitor your images continuously and make small corrections promptly.
| Method | Pros | Cons | Effectiveness |
|---|---|---|---|
| Steaming | Safe for vinyl, removes wrinkles effectively, no surface damage | Requires dedicated steamer, takes 2-3 minutes | 95% wrinkle removal |
| Ironing | Fast, familiar method | Melts vinyl, destroys prints, causes permanent damage | Not recommended |
Cleanup procrastination compounds problems. Dried spills and stains require aggressive cleaning that risks damaging your backdrop. Clean immediately after each session while materials are still fresh and easy to remove.
Transport carelessness leads to unnecessary wear. Tossing rolled backdrops loosely in vehicles allows them to unroll partially or get crushed. Use dedicated carrying tubes or cases that protect your investment during travel between locations.
Pro Tip: Always keep a vinyl safe steamer on hand rather than risking permanent damage with irons that melt surfaces and ruin expensive backdrops beyond repair.
Expected results and quality benchmarks
Following this workflow delivers measurable improvements. Setup time drops by up to 40% with practice, reducing the typical 25 minute process to under 15 minutes. Efficiency gains compound across multiple shoots each week.
Durability benchmarks prove the value of proper care. Well maintained vinyl backdrops last over 50 professional shoots without visible wear. Compare this to poorly stored backdrops that show creasing and fading after just 15-20 uses.
Wrinkle reduction reaches 85% when you combine proper mounting with steaming techniques. Weighted clamps maintain tension while steaming relaxes remaining creases. Your backgrounds appear smooth and professional in every frame.
Image consistency improves dramatically with systematic workflows. Uniform background appearance across product lines builds brand recognition and customer trust. Buyers notice cohesive visual presentation even if they can’t articulate why.
Shoot efficiency gains translate to 20-30% faster sessions overall. Less time fighting wrinkles and adjusting lighting means more frames captured per hour. Productivity increases without sacrificing quality.
40% setup time reduction with structured workflow
This efficiency boost means completing four shoots in the time previously needed for three. For busy professionals, that translates directly to increased revenue and client capacity. Your product photography workflow becomes predictable and reliable.
Color accuracy and print detail remain sharp through dozens of uses. High quality vinyl maintains vibrancy without fading when properly stored away from sunlight. Your investment continues delivering professional results month after month.
Enhance your photography with professional vinyl backdrops
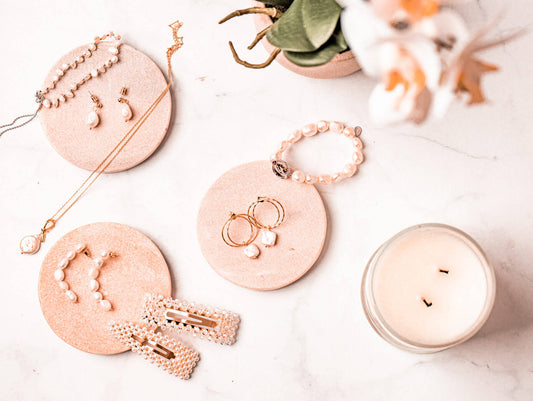
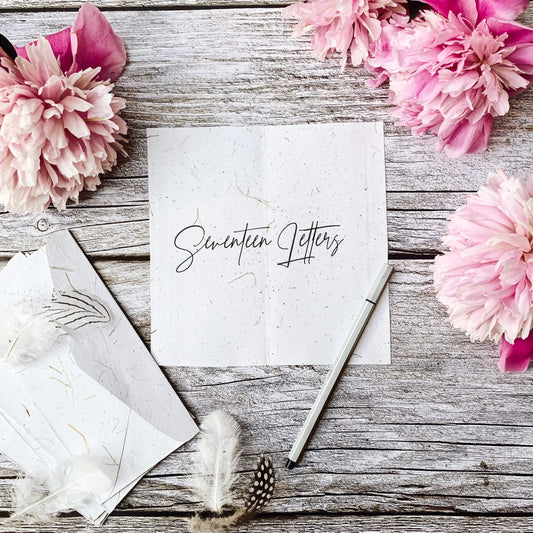
Transform your photography workflow with premium vinyl backdrops designed for professional results. Instant Backdrops offers curated collections of durable, portable backgrounds optimized for food, product, and lifestyle photography.
Our backdrops feature ultra realistic textures, stain resistant surfaces, and vibrant prints that withstand close up shots and demanding shoot conditions. Each backdrop rolls compactly for easy transport while maintaining the quality standards professional photographers demand. Explore our spring collection for seasonal versatility that keeps your content fresh and engaging. Streamline your setup process and elevate your visual presentations with backgrounds built specifically for creators who value both quality and convenience.
Frequently asked questions about DIY photography backdrop workflow
How can I prevent vinyl backdrop wrinkles quickly on set?
Secure your backdrop with weighted clamps at top and bottom edges to maintain constant tension. Use a vinyl safe steamer held 6-8 inches from the surface, working in vertical passes for fastest results.
What is the best way to clean vinyl backdrops without damage?
Use mild dish soap diluted in warm water with a soft microfiber cloth. Blot spills immediately rather than scrubbing, and avoid harsh chemicals or abrasive materials that scratch the printed surface.
How should I store my vinyl backdrop to maximize lifespan?
Roll your backdrop loosely with the printed side facing inward, never fold it. Store upright or flat in a cool, dry location away from direct sunlight to prevent fading and maintain print quality for years.
Can I use regular irons on vinyl backdrops to remove wrinkles?
Never iron vinyl backdrops directly, the heat melts the surface and destroys prints permanently. Always use a dedicated vinyl safe steamer instead, which removes wrinkles effectively without causing any damage.
What lighting setup works best to avoid glare on vinyl backgrounds?
Position diffused light sources like softboxes at 45 degree angles to your subject, avoiding direct light that creates reflective hotspots. Check the photography backdrop setup guide for detailed lighting diagrams and positioning tips.