


Jewelry photography step by step: background setups 2026
Selling jewelry online demands more than beautiful products. You need images that capture intricate details, true colors, and the sparkle that convinces buyers to trust your craftsmanship. Poor photography leads to hesitation, abandoned carts, and returns. This guide walks you through proven background setups and step-by-step techniques that professional jewelry photographers use to create compelling macro shots. You’ll learn how to overcome reflections, highlight gemstone brilliance, and present your pieces in ways that build confidence and drive conversions.
Table of Contents
- Understanding The Problem: Why Jewelry Photography Requires Precision
- Preparation And Tools: Selecting Backgrounds And Equipment For Flawless Jewelry Shots
- Step-By-Step Execution: Techniques For Lighting, Positioning, And Photographing Jewelry
- Verification And Troubleshooting: Common Mistakes And How To Fix Them
- Enhance Your Jewelry Photography With The Perfect Backdrops
- FAQ
Key takeaways
| Point | Details |
|---|---|
| Professional macro photography boosts conversion | Listings with quality macro shots see 32% higher conversion rates compared to standard product photos. |
| Lighting and backgrounds reveal true quality | Proper diffused lighting and clean, non-reflective backgrounds help capture accurate colors and minimize distracting glare. |
| Step-by-step techniques improve detail | Following structured shooting processes ensures sharp focus on stones and craftsmanship, reducing product returns. |
| Choosing the right backgrounds enhances appeal | Neutral vinyl or fabric backdrops make jewelry stand out without color cast or visual clutter. |
| Following this guide leads to better sales | Implementing these techniques results in longer page visits, stronger buyer confidence, and fewer returns. |
Understanding the problem: why jewelry photography requires precision
Jewelry photography presents unique challenges that don’t exist with most other products. Metals reflect light like mirrors, and gemstones refract it in complex ways, making it nearly impossible to capture true appearance without careful control. Metals reflect like a mirror and gemstones are highly refractive, so the final image depends entirely on your lighting environment and background choice. A ring photographed against a busy backdrop or under harsh light will show distracting reflections, color shifts, and loss of detail that undermine buyer confidence.
Buyers shopping for jewelry online face inherent doubts. They worry about craftsmanship quality, whether stones are genuine, and if the piece will look as stunning in person as it does on screen. Unlike clothing or electronics, jewelry carries emotional weight and significant cost, making customers extremely cautious. Jewelry has the lowest conversion rate of any online category, largely because shoppers can’t physically inspect the item. Poor photography amplifies this hesitation, leading to abandoned carts and high return rates when products don’t match expectations.
Static photography faces another fundamental limitation: it cannot capture the dynamic sparkle that makes gemstones desirable. Scintillation is physically impossible to capture in a static photograph, so your images must compensate by revealing clarity, cut precision, and setting details that imply brilliance. This requires macro capabilities, controlled lighting, and backgrounds that don’t compete for attention.
Overcoming these challenges demands precision at every step:
- Use diffused lighting to soften reflections without losing highlight detail
- Select backgrounds that provide contrast without introducing color contamination
- Employ macro lenses and proper camera settings to reveal fine craftsmanship
- Control the shooting environment to minimize unwanted reflections from surrounding objects
When you master these elements, your images communicate quality and authenticity. Customers spend more time examining your listings, feel confident in their purchase decisions, and experience fewer disappointments upon delivery. The result is higher conversions, stronger brand reputation, and a measurable return on the effort invested in professional photography techniques.
“The difference between amateur and professional jewelry photography isn’t expensive gear. It’s understanding how light interacts with reflective surfaces and creating an environment that showcases the product truthfully.”
Preparation and tools: selecting backgrounds and equipment for flawless jewelry shots
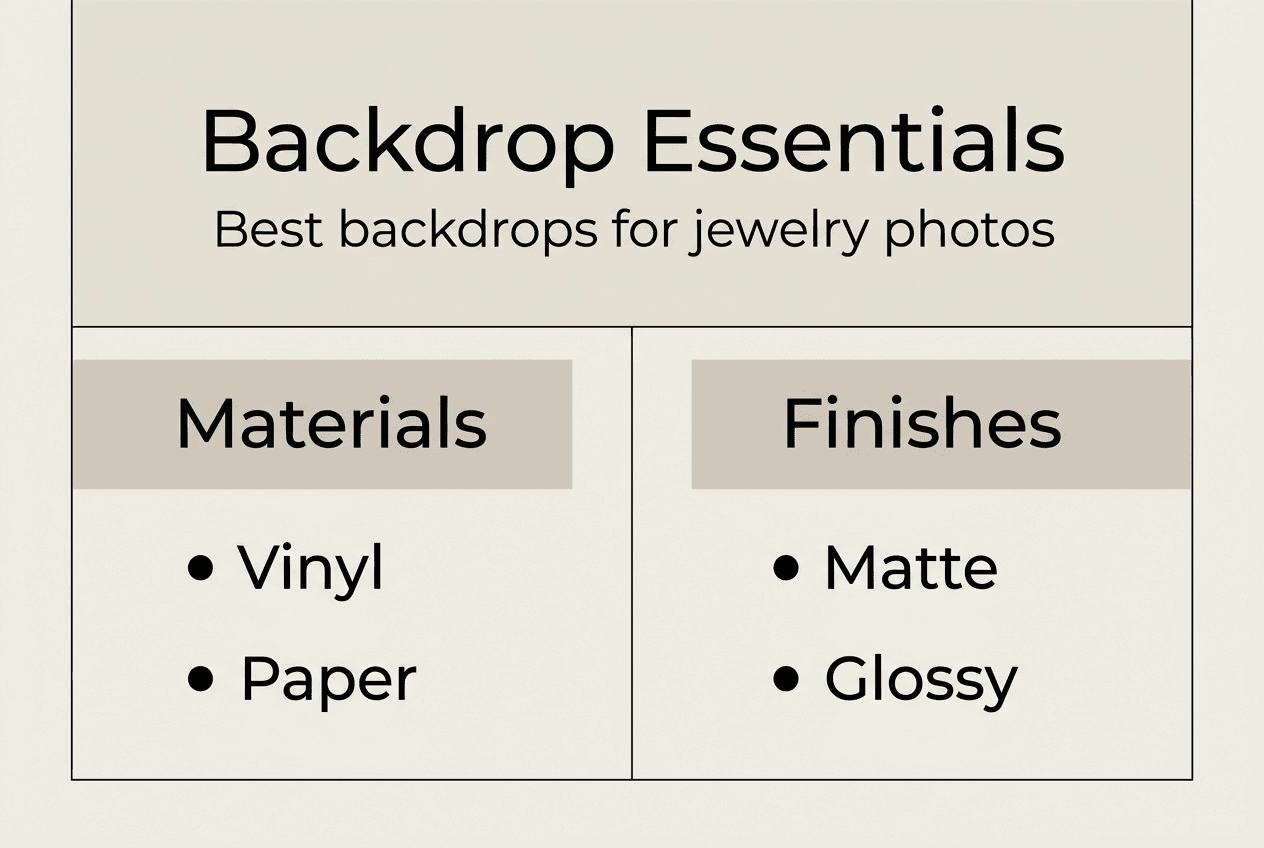
Before you press the shutter button, assembling the right equipment and backgrounds sets the foundation for professional results. Start with your backdrop selection. Non-reflective, clean surfaces prevent distractions and ensure the jewelry remains the focal point. Vinyl backdrops designed for product photography offer durability, easy cleaning, and consistent texture across multiple shoots. Fabric options work well for softer presentations but require more maintenance to avoid wrinkles and stains.
Choose neutral colors that complement rather than compete with your jewelry. White backgrounds create a clean, modern look ideal for e-commerce listings. Black provides dramatic contrast that makes metals and gemstones pop, particularly for high-end pieces. Soft gradients in gray or beige add subtle dimension without overwhelming the product. Avoid busy patterns or bright colors that introduce color cast or draw attention away from the jewelry itself.
Essential photography tools include a macro lens capable of capturing fine details at close range. A 100mm macro lens is the industry standard for jewelry work, providing excellent magnification without requiring you to position the camera uncomfortably close to the subject. Polarizing filters cut reflections on metal surfaces, giving you cleaner images with less post-processing work. Light tents or softboxes diffuse harsh light sources, creating the even illumination necessary for revealing true colors and textures.
| Backdrop Material | Durability | Reflectiveness | Ease of Use | Best For |
|---|---|---|---|---|
| Vinyl | High | Low | Very Easy | E-commerce, high-volume shoots |
| Fabric | Medium | Low | Moderate | Artistic presentations, softer looks |
| Paper | Low | Low | Easy | Budget shoots, disposable setups |
| Acrylic | High | High | Moderate | Reflective effects, modern aesthetics |
Additional gear that elevates your setup includes a sturdy tripod to eliminate camera shake during long exposures, a remote shutter release for vibration-free shooting, and reflector cards to bounce light into shadowed areas. Investing in a color calibration card ensures accurate white balance across all your shots, critical when customers need to see true metal tones and gemstone hues.
Pro Tip: Use neutral colors like white, black, or soft gradients to make jewelry stand out without introducing unwanted color reflections onto metal surfaces.
Listings with professional macro photography see 32% higher conversion rates compared to standard product photos, making the investment in proper backgrounds and equipment financially justified. Quality backdrops from sources specializing in jewelry photography provide consistent results across your entire catalog, building visual cohesion that strengthens brand identity.
Once your gear is assembled, organize your shooting space to minimize environmental reflections. Position your setup away from windows where uncontrolled natural light can introduce color shifts. Cover reflective surfaces in the room with black fabric or cards to prevent them from appearing in your jewelry’s polished surfaces. This preparation phase takes time initially but streamlines every subsequent shoot, allowing you to focus on creative decisions rather than technical troubleshooting.
Step-by-step execution: techniques for lighting, positioning, and photographing jewelry
With your equipment ready, follow this structured process to capture professional jewelry images that highlight craftsmanship and drive sales. Each step builds on the previous one, creating a systematic approach that produces consistent results.
-
Set up diffused lighting to reduce harsh reflections. Position two softboxes at 45-degree angles on either side of your jewelry, slightly above the product. This creates soft, even illumination that wraps around the piece without creating hot spots. If you’re using a light tent, place it over the jewelry and position your lights outside the tent fabric, allowing the material to diffuse the light naturally. Avoid direct flash or bare bulbs, which create harsh shadows and blown-out highlights on metal surfaces.
-
Position jewelry at angles highlighting key features. Place rings upright using wax or museum putty to showcase the stone’s table and setting details. Tilt necklaces slightly to reveal clasp quality and chain construction. For earrings, arrange them as a pair to show symmetry and matching. The goal is to present the piece as a customer would examine it in person, rotating it to catch light and reveal craftsmanship.
-
Adjust camera settings for macro focus and depth of field. Set your aperture between f/8 and f/16 to achieve sufficient depth of field that keeps both the front and back of the jewelry in sharp focus. Use the lowest ISO your lighting allows, typically ISO 100 or 200, to minimize digital noise that degrades image quality. Switch to manual focus mode and use your camera’s live view feature to precisely focus on the most important element, usually the center stone or primary design feature.
-
Capture multiple shots focusing on stones and craftsmanship. Take a hero shot showing the entire piece in context, then move in for detail shots of individual stones, engraving, settings, and construction quality. Shoot from multiple angles to give customers a complete understanding of the product. Bracket your exposures slightly to ensure you capture the full dynamic range of both bright highlights and subtle shadow details.
Pro Tip: Use a tripod and remote shutter release to avoid camera shake during exposure, especially critical when shooting at small apertures that require longer shutter speeds.
Listings with professional macro photography see 2.5x longer time on page and 47% fewer returns, proving that detailed images reduce buyer uncertainty and post-purchase disappointment. The extra time spent capturing comprehensive shots pays dividends in customer satisfaction and reduced customer service burden.
| Lighting Type | Highlight Detail | Shadow Detail | Reflection Control | Best Use Case |
|---|---|---|---|---|
| Diffused | Moderate | Excellent | Excellent | General jewelry photography |
| Direct | Excellent | Poor | Poor | High-contrast artistic shots |
| Mixed | Good | Good | Moderate | Balancing sparkle with detail |
Experiment with creative backdrop setups to find styles that align with your brand identity. Some jewelers prefer stark white backgrounds for a clinical, trustworthy presentation. Others use textured surfaces that add visual interest without overwhelming the product. Test different approaches with your target audience to identify which styles generate the strongest engagement and conversion metrics.
Between shots, review your images at 100% magnification on your camera’s LCD screen. Check focus accuracy, exposure balance, and whether any distracting reflections appear in the metal. It’s far easier to reshoot immediately than to discover problems during editing when your lighting setup has been dismantled. This verification step during shooting saves hours of frustration later.
Verification and troubleshooting: common mistakes and how to fix them
Even experienced photographers encounter challenges when shooting jewelry. Recognizing common pitfalls and knowing how to correct them separates amateur results from professional-quality images that drive conversions.
Common mistakes include:
- Glare and reflections that obscure detail or create distracting bright spots
- Poor focus that leaves critical elements like stone facets or engraving soft
- Busy backgrounds that compete with the jewelry for viewer attention
- Incorrect white balance that shifts metal colors from warm gold to greenish or makes silver appear blue
Fixing glare and reflections requires adjusting your light position and angle. Move lights farther from the subject or increase diffusion by adding another layer of translucent material between the light and jewelry. Use a polarizing filter rotated to the angle that minimizes reflections, though be aware this may also reduce overall light intensity, requiring longer exposures. Position black cards around your setup to absorb light and prevent environmental reflections from appearing in polished surfaces.
Poor focus often results from insufficient depth of field or autofocus systems hunting on reflective surfaces. Switch to manual focus and use focus stacking if your camera supports it, taking multiple shots at different focus distances and combining them in post-processing. This technique ensures every part of the jewelry appears tack-sharp, from the front of the stone to the back of the setting.
Busy backgrounds are easily remedied by switching to simpler, neutral options. If you’ve already shot images with distracting backdrops, consider whether the investment in reshooting outweighs the conversion loss from suboptimal images. In most cases, the answer is yes. Clean backgrounds from a product photography checklist ensure nothing competes with your jewelry.
Incorrect white balance requires calibration at the start of each shoot. Place a gray card in your lighting setup and use it to set a custom white balance in your camera. This ensures metals render accurately and gemstone colors appear true to life. Shoot in RAW format to retain maximum flexibility for white balance adjustments during editing, but get it as close as possible in-camera to minimize post-processing time.
Final image quality verification checklist:
- Review every image at 100% magnification to confirm sharp focus on critical details
- Check histograms to ensure highlights aren’t blown out and shadows retain detail
- Verify white balance accuracy by comparing metal tones to the actual product
- Inspect for dust, fingerprints, or other blemishes that require cleaning and reshooting
- Confirm consistent lighting and color across all images in the set
- Test images on multiple devices to ensure they display correctly across screens
Corrective actions for typical issues:
- If reflections persist despite diffusion, add more distance between lights and subject
- When focus is soft, stop down aperture further or use focus stacking techniques
- For color shifts, recalibrate white balance using a proper gray card reference
- If shadows are too deep, add fill cards or reflectors to bounce light into dark areas
- When highlights blow out, reduce light intensity or use neutral density filters
Taking time to verify and correct issues during shooting prevents disappointing results that require expensive reshoots. Build these checks into your workflow as standard practice, not optional steps you skip when rushed. The consistency and quality improvements justify the extra minutes invested per product.
Enhance your jewelry photography with the perfect backdrops
Implementing these step-by-step techniques transforms your jewelry photography from acceptable to exceptional. The right backdrop plays a crucial role in this transformation. Instant Backdrops offers professional-grade vinyl backdrops specifically designed for product and jewelry photography, providing the clean, non-reflective surfaces that make your pieces shine.
Choosing durable, easy-to-clean backdrops eliminates variables that compromise image quality. Vinyl options withstand the demands of high-volume shooting without showing wear, maintaining consistent appearance across your entire catalog. This consistency builds visual cohesion that strengthens brand identity and customer trust. Explore the comprehensive backdrops for jewelry photography guide to find surfaces that complement your specific product line and aesthetic vision. The product photography backdrop guide offers additional insights on selecting and using backdrops for maximum impact across different jewelry categories.
FAQ
What is the best backdrop color for jewelry photography?
Neutral colors like white, black, and soft gray gradients help jewelry stand out without introducing color cast that distorts metal tones or gemstone hues. White creates clean, modern presentations ideal for e-commerce. Black provides dramatic contrast that emphasizes sparkle and luxury positioning. Choose based on your jewelry type and brand aesthetic, testing different options to see which generates stronger customer engagement.
How can I reduce reflections and glare on metal jewelry?
Use diffused lighting setups with softboxes or light tents positioned at 45-degree angles to your subject. Add polarizing filters to your lens, rotating them to the angle that minimizes reflections without darkening the overall image excessively. Position black cards around your shooting area to absorb stray light and prevent environmental reflections from appearing in polished metal surfaces. Adjust light distance and intensity until you achieve the balance between revealing detail and controlling glare.
What camera settings work best for macro jewelry photos?
Set your aperture between f/8 and f/16 to achieve sufficient depth of field that keeps the entire piece in sharp focus from front to back. Use the lowest ISO your lighting allows, typically ISO 100 to 200, to minimize digital noise that degrades fine detail. Employ a tripod and manual focus for precision, using your camera’s live view feature magnified to 10x for accurate focus placement. Shoot in RAW format to retain maximum editing flexibility for exposure and color adjustments.
Why is macro photography essential for jewelry listings?
Macro shots reveal the fine details buyers need to assess quality, craftsmanship, and authenticity before purchase. Close-up images showing stone clarity, setting precision, and finish quality build confidence that reduces purchase hesitation. Listings with professional macro photography see 32% higher conversion rates because customers can examine products as thoroughly online as they would in a physical store, reducing uncertainty that leads to abandoned carts and returns.
Recommended
- Backdrops for jewelry photography: boost quality in 2026 – Instant Backdrops
- 7 Creative Examples of Backdrop Setups for Photographers – Instant Backdrops
- Product Photography Guide for Stunning Backdrop Shots – Instant Backdrops
- Food Photography Background Tips for Stunning Visuals – Instant Backdrops