


Lifestyle photo backdrop tutorial: elevate your branding
Your backdrop is doing more work than you think. A flat, uninspired background can quietly undermine even the most carefully styled shot, while the right surface pulls everything together and makes your subject shine. For photographers and influencers building a recognizable visual identity, that difference is everything. This tutorial walks you through materials, setup, lighting, and expert refinements so you can build lifestyle backdrops that feel intentional, on-brand, and genuinely professional. Whether you shoot in a dedicated studio or a spare bedroom corner, these steps will help you get there faster.
Table of Contents
- What you need: Materials, tools, and space preparation
- Step-by-step: Building your lifestyle photo backdrop
- Lighting essentials: Creating mood and separation
- Fine-tuning: Troubleshooting, tips, and expert adjustments
- Our perspective: What most tutorials miss about lifestyle backdrops
- Get the perfect backdrop for your next lifestyle shoot
- Frequently asked questions
Key Takeaways
| Point | Details |
|---|---|
| Prep is crucial | Choosing the right material and organization streamlines shooting and improves outcome. |
| Lighting sets the mood | Separate subject and backdrop lighting for consistent, professional-looking images. |
| DIY can be pro | Simple tools and creative setups work in any space, not just large studios. |
| Color theory matters | Harmonizing backdrop tones with subject enhances emotional impact and branding. |
What you need: Materials, tools, and space preparation
Now that you know why backdrops matter, it’s time to gather everything you need for a professional setup. The good news is that you have more options than you might expect, and many of them are surprisingly affordable.
Material choices vary widely in texture, durability, and visual effect. Here is a quick comparison to help you choose:
| Material | Best for | Durability | Portability |
|---|---|---|---|
| Draped fabric | Soft, organic lifestyle shots | Medium | High |
| Textured surfaces | Editorial and product work | High | Medium |
| Seamless paper | Clean, minimal backgrounds | Low | Medium |
| Vinyl boards | Food, product, flat lay | Very high | High |
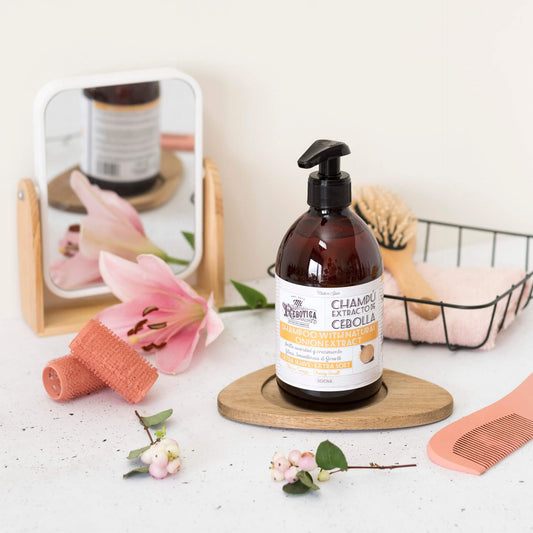
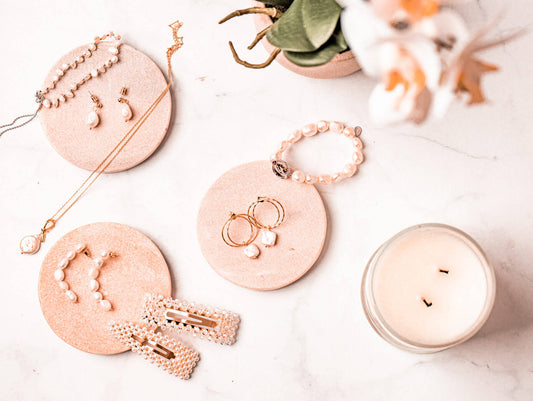
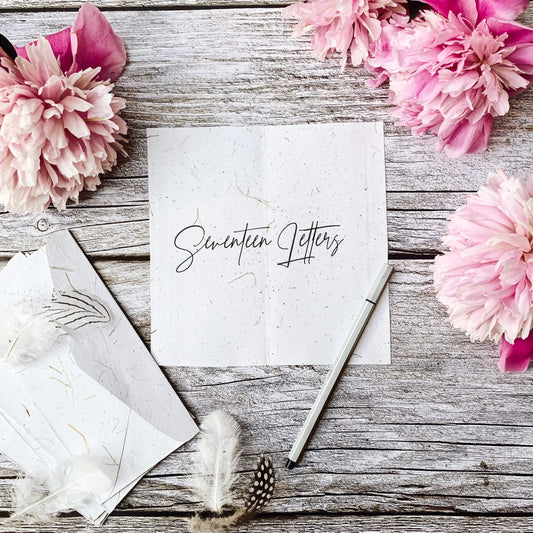
For lifestyle photography specifically, natural-looking setups like draped fabric on furniture, textured surfaces, or seamless paper give your images an authentic, lived-in quality that resonates with audiences. Vinyl boards are a strong choice when you need something spill-proof and repeatable across sessions.
You can find a wide range of lifestyle backdrop ideas to match your brand palette before you commit to a purchase. It also helps to review essential backdrop fabrics so you understand how different materials behave under various lighting conditions.
Your tool checklist:
- Backdrop stand or C-stand with crossbar
- Spring clamps and gaffer tape
- Steamer or wrinkle-release spray for fabrics
- Continuous or strobe lighting with modifiers
- Reflectors and V-flats for fill
- Props and surface layers for depth
For space setup, you do not need a large studio. A 10x10 foot area is workable for most lifestyle shots. Push furniture to the walls, use natural light from a window as a starting point, and keep your product backdrop guide handy as a reference for positioning.
Pro Tip: If you shoot in a small space, use lighter-colored walls as natural reflectors. They bounce light back onto your subject without adding extra equipment.
Step-by-step: Building your lifestyle photo backdrop
With your materials ready, let’s get into the actionable process of building your backdrop from the ground up.
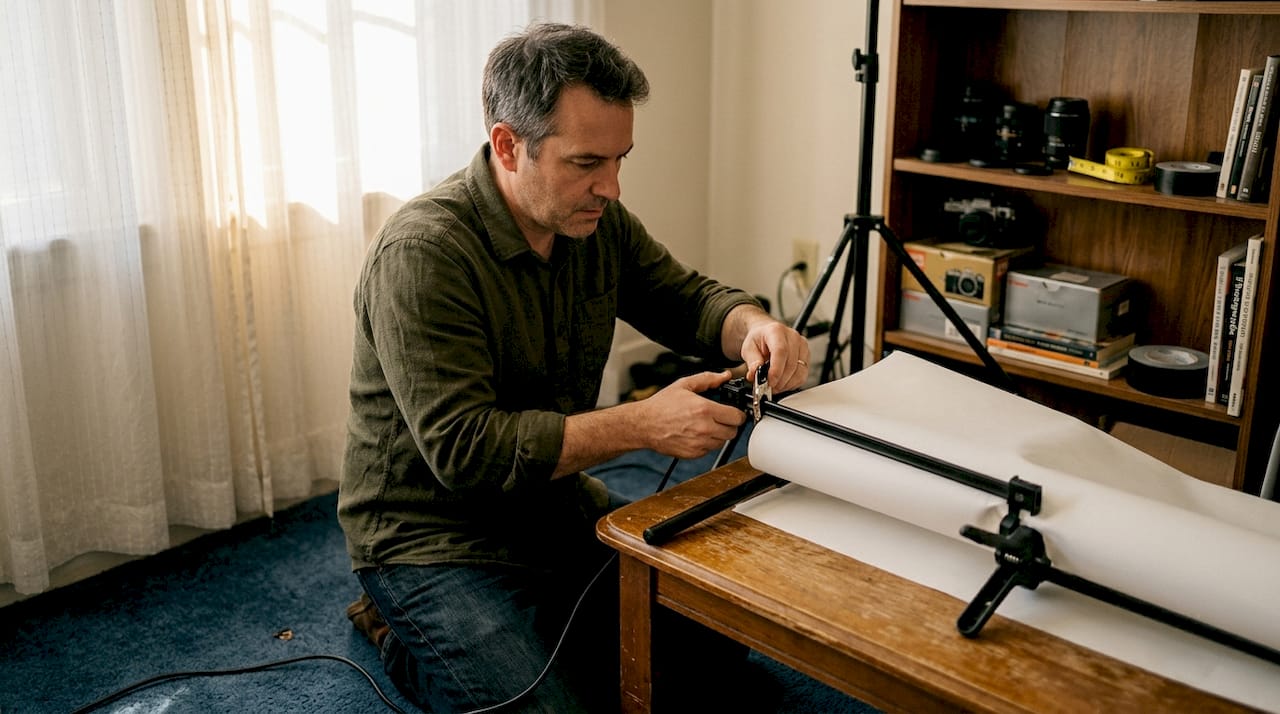
Step 1: Prepare your base. Start with a clean, flat surface. If you are using a board or vinyl, wipe it down. If you are draping fabric, shake it out and check for visible creases.
Step 2: Secure your materials. Use spring clamps to attach fabric to a stand, or gaffer tape to hold boards in place. Never rely on gravity alone. A shifting backdrop mid-shoot costs you time and consistency.
Step 3: Add layers and props. This is where lifestyle photography separates itself from a basic packshot. Lifestyle photography uses props and environments to create aspirational visualization, helping customers see how a product fits into their real life. Add a plant, a folded linen, or a ceramic mug. These elements create depth and narrative.
Step 4: Address wrinkles. Steam fabric backdrops before shooting. For studio-quality backdrop setup results, wrinkle-free surfaces are non-negotiable. Even subtle creases catch light and become distracting in the final image.
Step 5: Position your subject. Place your subject at least two to three feet in front of the backdrop. This distance creates natural separation and allows you to control background blur with your aperture. Themed backdrop examples show how subject placement shifts the entire mood of a scene.
For a softer, more editorial feel, try backdrop assembly tips like draping black fleece over a couch or using Duo Boards to blend lifestyle elements seamlessly into the frame.
Pro Tip: Shoot a test frame before your subject is in position. Check for shadows, hot spots, and any props that compete for attention. Fix those first.
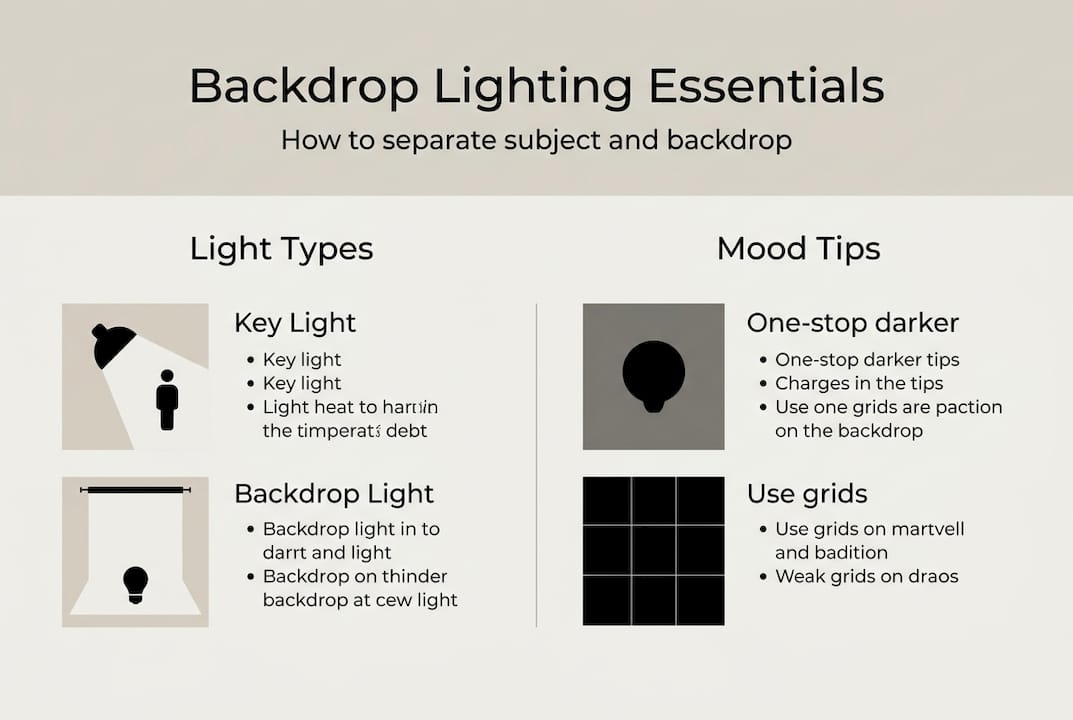
Lighting essentials: Creating mood and separation
Once your backdrop is set, lighting brings your scene to life and anchors your composition. This is where many photographers lose the plot. They light the subject well but ignore the backdrop entirely, which flattens the image and removes any sense of depth.
The key principle is to treat your subject and backdrop as two separate lighting problems. Independent lighting means placing your key light at roughly 45 degrees to the subject, then using a separate light source for the backdrop, with grids or flags to control spill between the two zones.
Here is how different lighting choices affect your results:
| Lighting approach | Effect on backdrop | Best use case |
|---|---|---|
| Key light only | Flat, low separation | Budget or quick shoots |
| Separate backdrop light | Rich tonal depth | Lifestyle and editorial |
| Underexposed backdrop | Moody, dramatic feel | Fashion and dark aesthetics |
| Overexposed backdrop | Airy, high-key look | Beauty and minimalist brands |
Using a grid on your backdrop light keeps the beam tight and prevents it from washing over your subject. Flags, which are black panels placed between lights, stop unwanted spill from crossing zones.
Mood creation comes from the ratio between your key and backdrop lights. A backdrop that is one stop darker than your subject reads as intimate and warm. One stop brighter gives a clean, commercial feel. Experiment with both before settling on a look that fits your brand.
For more on this, explore backdrop lighting strategies and lighting setups that match your shooting style. Also check background lighting methods for a deeper breakdown of seamless background techniques.
Pro Tip: Use a light meter to check the exposure ratio between your subject and backdrop before you shoot. It takes 60 seconds and saves hours of editing.
Fine-tuning: Troubleshooting, tips, and expert adjustments
Even with solid fundamentals, subtle tweaks can help you overcome obstacles and polish your final results. Here are the most common issues and how to fix them.
Common backdrop problems and solutions:
- Wrinkles in fabric: Steam thoroughly before shooting. If wrinkles return under heat from lights, re-steam between setups.
- Tears in seamless paper: Handle paper rolls from the edges only. Keep a second roll on hand for longer sessions.
- Light spill between zones: Add flags or black foam core panels between your light sources.
- Reflective products catching backdrop color: Move the product further from the backdrop and use a white card to redirect clean light.
- Backdrop shifting during shoot: Double-clamp at the top and add sandbags to the base of your stand.
For small spaces and DIY setups, fabric sheets, V-flats, and Duo Boards are practical alternatives to full seamless rolls. They are easier to store, faster to set up, and more forgiving in tight environments.
One expert refinement worth knowing: for e-commerce images, filling roughly 85% of the frame with your subject keeps the focus tight and reduces distracting negative space. For lifestyle shots, you can pull back and let the backdrop breathe.
“The backdrop is not just a background. It is part of the story. When it feels right, viewers do not notice it at all. That is the goal.”
For guidance on picking the right backdrop for your subject and brand, or for troubleshooting backdrop issues before they derail a session, those resources will save you real time on set.
Our perspective: What most tutorials miss about lifestyle backdrops
Most tutorials cover the basics well. They tell you to steam your fabrics, separate your lights, and use props. That is all solid advice. But what they rarely mention is how much color theory changes the game.
A versatile colored seamless backdrop does not lock you into one look. When you understand how warm and cool tones interact with skin, wardrobe, and product colors, a single backdrop can produce dramatically different results just by shifting your lighting temperature or intensity. That kind of flexibility is worth more than owning ten different fabrics.
We have also seen photographers invest heavily in gear while ignoring how their space shapes the image. A cramped room with poor light control will undermine even the most expensive backdrop. Adapting to your environment, using flags, reflectors, and careful positioning, matters more than the price tag on your materials.
The real secret is treating every element as a narrative tool. Props, lighting, and backdrop material are not just visual filler. They communicate mood, brand values, and story. When those three elements work together, the image feels effortless. Explore creating pro visuals to see how that thinking translates into practical setups.
Get the perfect backdrop for your next lifestyle shoot
Ready to transform your workflow? Here’s how to streamline your next lifestyle shoot.
Building a backdrop from scratch takes time, and consistency across sessions is hard to maintain when materials shift or wear out. That is where pre-built, professional-grade backdrops make a real difference.
At Instant Backdrops, you will find a wide range of vinyl backdrops designed specifically for lifestyle, product, food, and fashion photography. Every surface is ultra-realistic, stain-resistant, and built to hold up under close-up shots and repeated use. From marble and wood to stone and decorative walls, there is a texture and color to match your brand aesthetic. Browse the full catalog and find the backdrop that fits your next shoot perfectly.
Frequently asked questions
What materials work best for lifestyle photo backdrops?
Textured fabrics, seamless paper, and vinyl boards provide versatility, durability, and a professional look, making them ideal for lifestyle shoots. Each material suits different lighting conditions and subject types, so having a few options on hand gives you the most creative flexibility.
How should I light a lifestyle backdrop for best results?
Light the subject and backdrop separately, using grids or flags to control spill, and adjust the background light for desired mood and tonal separation. This two-zone approach gives you precise control over depth and atmosphere.
What’s the main difference between lifestyle and packshot backdrops?
Lifestyle backdrops use props and contextual environments to evoke emotion, while packshots typically use clean, seamless backgrounds for product isolation. The choice depends on whether you want to tell a story or simply document a product.
How can I avoid common backdrop problems in small spaces?
Use compact options like Duo Boards or V-flats, secure backdrops with clamps, and manage wrinkles by steaming fabrics or choosing textured vinyl surfaces that hide imperfections naturally. These solutions work well even in tight, low-ceiling rooms.
Why is color theory important in choosing a lifestyle backdrop?
Color theory allows you to select backdrop tones that complement the subject’s skin or wardrobe, enhancing mood and visual appeal. The right tonal relationship between subject and background is what makes an image feel cohesive rather than accidental.